
Start with the bed, not the kit count
Draw the beds, paths and faucet location. Measure the route the supply line will actually follow, including the climb into each bed. Note which crops share similar watering needs. A bed of newly germinating carrots and a few established tomatoes need not belong on one identical schedule just because they stand beside each other.
University of Georgia Extension recommends knowing garden size, available water output and header length before choosing components. If the source cannot support the whole layout, divide it into zones watered at different times. That is often more useful than adding ever more emitters to one circuit. UGA drip-system planning.
Your shopping worksheet should record bed dimensions, supply distance, elevation changes, emitter type, emitter count and total flow. Leave space for future changes, but do not buy an expansion promise without checking the manufacturer's limits.
Choose how water reaches the planting
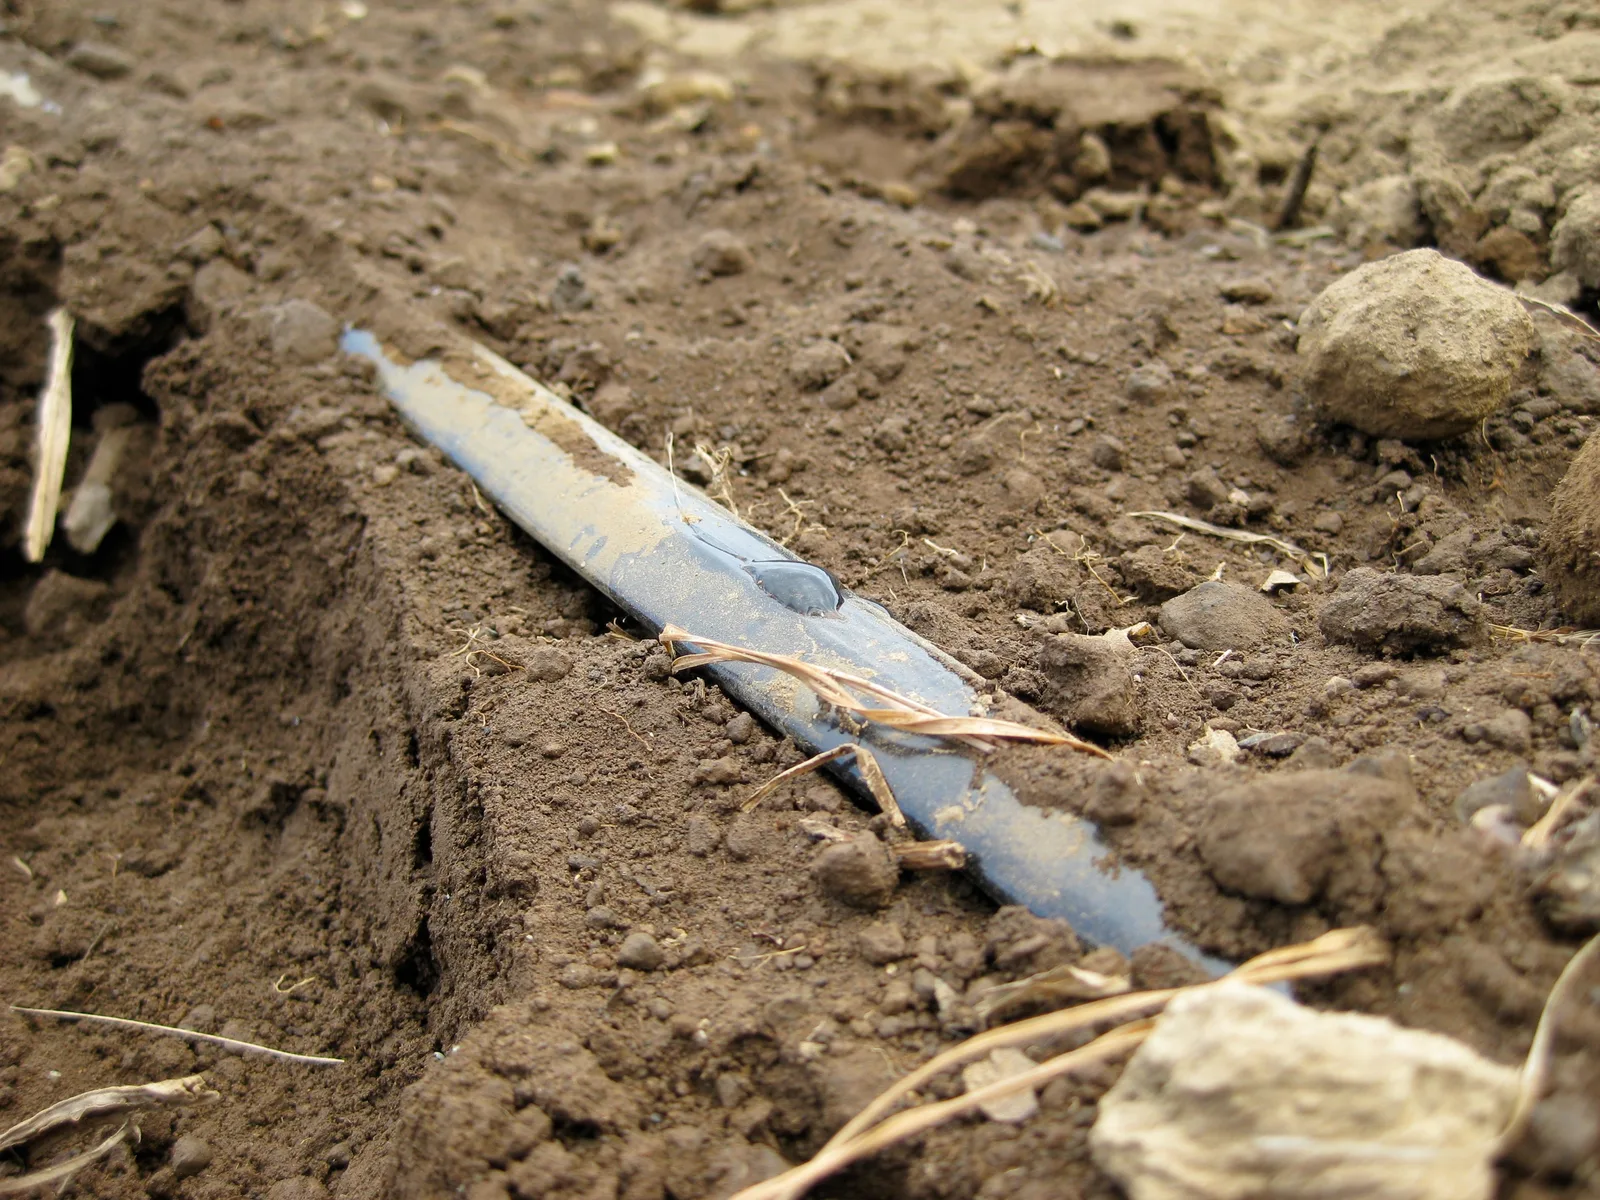
Inline drip tubing suits repeated rows or closely spaced crops. Individual emitters make sense for separated plants. A soaker hose releases water along its length, but it is not the same as tubing with metered emitters. Colorado State Extension distinguishes all three approaches for vegetable gardens. CSU vegetable-garden irrigation.
There is no universal “three lines per four-foot bed” rule. Spacing depends on soil, planting pattern and how far water spreads sideways. Begin with the dripline maker's layout guidance, then check the result in your actual bed. If the spaces between lines remain dry where roots are growing, merely increasing runtime may deepen the wet strips without solving the gaps. CSU also cautions that poorly placed or insufficient emitters can limit the wetted root area. CSU emitter placement.
Check three different kinds of compatibility
First, match the faucet thread. North American garden-hose connections commonly use 3/4-inch GHT; this is not interchangeable with 3/4-inch NPT pipe thread. Similar-looking names are not proof that two parts fit. ELEY connection guidance.
Second, match tubing dimensions. “Half-inch” drip tubing is a nominal family name, not one universal outside diameter. Rain Bird's own comparison lists T63 tubing at roughly 0.63-inch OD and T70 at 0.70-inch OD. Buy fittings explicitly rated for the chosen tubing. Third, distinguish blank supply tubing from emitter tubing: T63-100 contains no emitters. Rain Bird tubing specifications.
Keep a short parts list with exact model names and dimensions. An inexpensive connector that belongs to the wrong tubing family is not a bargain.
Treat pressure and flow as separate checks
Pressure is the push; flow is the amount of water delivered over time. A pressure regulator reduces pressure—it does not create extra supply. Select the outlet setting, inlet requirements and operating flow range from the regulator and emitter documentation. Do not assume every drip system wants 25 psi or that a regulator behaves as intended at any tiny flow.
For example, Rain Bird's FCKIT includes a 25 psi regulator, filtration and a backflow device for compatible tubing. That makes it a useful connection option, not evidence that every emitter or plumbing arrangement is compatible. Confirm appropriate backflow protection and installation order for the actual components and your water supplier's requirements. Rain Bird faucet connection kit.
Timers have requirements too. The Rain Bird 1ZEHTMR specifies 15–90 psi operating pressure, so it should not be assumed to work on a gravity-fed barrel. A barrel system needs components explicitly suitable for that supply. Rain Bird timer specifications.
Calculate demand before expanding
Add emitter flow rates in gallons per hour, then divide by 60 to convert to gallons per minute. This arithmetic checks demand; it does not prove that a long or undersized line will deliver that flow evenly.
For an illustrative layout of 24 emitters rated at 0.5 GPH each, nominal demand is 12 GPH, or 0.2 GPM. A 30-minute run would nominally release six gallons in total. That is a calculation, not a recommended watering dose. Actual output depends on operating conditions and the selected devices.
Ask the supplier to check both maximum run length and minimum regulator flow for the design. Avoid using quarter-inch tubing as an unlimited-distance mainline. Keep bed branches accessible so they can be isolated, changed or repaired without rebuilding everything.
Install, observe, then automate
Follow the component instructions, support the faucet assembly and keep tubing out of walking routes. Leave accessible flushing points and flush construction debris before final closure, following the system manual. Run the complete zone while present. Check for leaking connections, missing emitters, pinched tubing and weak delivery at distant ends.
Do not judge success only by a dark patch at the surface. Inspect moisture below and between emitters. Mulch changes moisture retention, and the irrigation schedule should respond to the bed rather than remain fixed all season. University of Minnesota Extension emphasizes soil condition and texture when deciding when to water. UMN watering guidance.
Keep a simple maintenance routine
Walk the lines regularly, clean the filter as needed, and check after cultivation or moving supports. A timer running normally cannot reveal every rodent-chewed tube or clogged emitter. Keep compatible repair couplings and end closures nearby. At season's end, drain and store components according to their instructions; UGA specifically warns against leaving water in lines to freeze. UGA maintenance guidance.
The best first system is one you understand well enough to inspect. Buy compatible parts for a realistic layout, prove the wetting pattern, and automate only after the garden—not the kit's marketing—shows you how it performs.
Sources & further reading
We favor university extension guidance and original product documentation. Linked sources support the specific facts cited; they do not endorse Garden Gear Atlas.
- UGA drip-system planning
- CSU vegetable-garden irrigation
- CSU emitter placement
- ELEY connection guidance
- Rain Bird tubing specifications
- Rain Bird faucet connection kit
- Rain Bird timer specifications
- UMN watering guidance