Choose the job before bringing out a blade
A chive planting can need three quite different jobs: a handful of leaves for dinner, a cleanup after flowering or a physical division of crowded bulbs. Look at the whole clump and name the job first. Cutting everything short will not separate crowded roots, and lifting a plant is unnecessary when all you wanted was to remove spent flower stalks.
For selective soft growth, the Fiskars Micro-Tip snips are a useful shortlist option. For lifting a modest clump in workable soil, consider the Wilcox All-Pro 202S trowel. Use tools already owned when they fit; a large established clump may call for a spade instead of forcing a hand trowel.
Set out separate places for clean edible leaves, discarded foliage and divisions to replant. This small preparation prevents the harvest from being mixed with soil during renewal. If the clump is large, decide where you will stand and where the lifted root mass can rest before you start digging. Leave yourself room to work without crushing the next planting.
Read the crown rather than following an anniversary
Chives grow as clumps of small bulbs. Illinois recommends division every two to three years; Minnesota suggests three to four years. Both make crowding and renewed vigor relevant. Their different intervals are reasons to inspect the plant, rather than evidence that one exact birthday must trigger lifting. Illinois Extension: chives Minnesota Extension: growing chives
Look at the spaces between shoots, the ease of watering and whether the pot can still accommodate the clump you want to keep. Compare those observations with recent leaf production. A clump that remains accessible and supplies good leaves does not need to be multiplied just because you have spare pots.
Pause if decline is unexplained. Check whether a recent full cut, drought or seasonal dieback accounts for the sparse foliage. If roots or the crown appear unhealthy, do not automatically distribute the material as divisions. Keep notes and seek local help where needed. Dividing is a way to reorganize healthy growing material; it does not diagnose the reason a plant is failing.
Our division, cuttings and layering guide explains why a rooted division is a different starting material from a cut leaf.
Reserve the next harvest before lifting this one
Decide which clump remains in service while another is renewed. If you own only one, plan for a pause in picking or buy the small quantity you need during recovery. A new division should not be expected to supply tomorrow’s large salad simply because its parent previously could.
For example, a gardener with three clumps might keep the first for daily leaves, allow the second to bloom and divide the third. That is a practical allocation, not a required planting count. With two clumps, alternate the renewal job between them. With one small pot, prioritize its establishment and accept that the uses will happen in sequence.
Count the divisions you actually want before handling roots. Prepare those planting positions and labels, and decide what will happen to surplus material. A smaller number of substantial, well-placed plants is easier to maintain than many tiny pieces scattered among unsuitable corners. If giving a division away, include its botanical identity and explain that it is common chives.
Lift in a suitable window and keep useful rooted groups
RHS allows division in spring or autumn, with prompt replanting. Illinois describes divisions containing about four to six bulbs. Work with rooted groups rather than trying to maximize the number of individual bulbs; their immediate usefulness matters more than an impressive division count. RHS: growing chives Illinois Extension: chives
Start outside the visible clump and loosen the soil around it, adjusting your approach when the root mass proves broader than expected. Support the lifted material from beneath. For a container plant, ease the root ball from the pot and inspect it on the work surface before pulling sections apart. Avoid using the leaves as handles to drag a resistant mass free.
Follow natural separations where possible, retaining roots with each group and removing unrelated weeds as you identify them. Keep the selected divisions together while you prepare the planting holes. If separating the clump would require more force than you can control, use a more suitable tool or assistance. The objective is sound planting material, not completing every cut with the smallest tool on the bench.
Replant to a level you can check
RHS advises returning chive clumps to the level at which they previously grew and watering them in. Choose suitable draining soil or container mix, keeping the crown visible enough to inspect. Replanting promptly keeps division and establishment part of the same job. RHS: growing chives
Arrange the groups before backfilling so you can judge spacing and reach. Do not fill every available gap simply because extra pieces exist. Keep room to inspect the mature clumps and place the label beside the intended planting, where it will not be hidden immediately by foliage. The common chives profile provides the broader site and size context.
After watering, check whether the planted level has settled and whether the clump is stable. Keep attention on the root area during establishment, especially in a pot that can dry differently from the old one. If you changed both pot and growing position, establish a new moisture baseline rather than transferring the previous calendar without observation.
Take whole useful leaves without tugging the crown
Illinois recommends clipping leaves toward the base, about an inch above the soil. Wisconsin describes selective harvesting for continuity and a waiting period after a whole-clump cut. The practical choice is between taking part of the standing foliage and scheduling a broader reset. Illinois Extension: chives Wisconsin Extension: chives
Gather only a small group of leaves at a time so you can see the cutting point. Keep the blades clear of soil and the neighboring shoots you intend to leave. Snip cleanly rather than pulling upward on the leaves. Put the usable material straight into the clean container, and inspect it before chopping.
For a meal, stop when you have the amount needed and look at the remaining clump. For a larger harvest, distribute the work among established plants if available. Record when a whole clump was cut so another person does not expect a fresh handful immediately. The next substantial harvest should follow renewed growth, not merely the arrival of the next weekend.
Give flowers a clear share of the planting
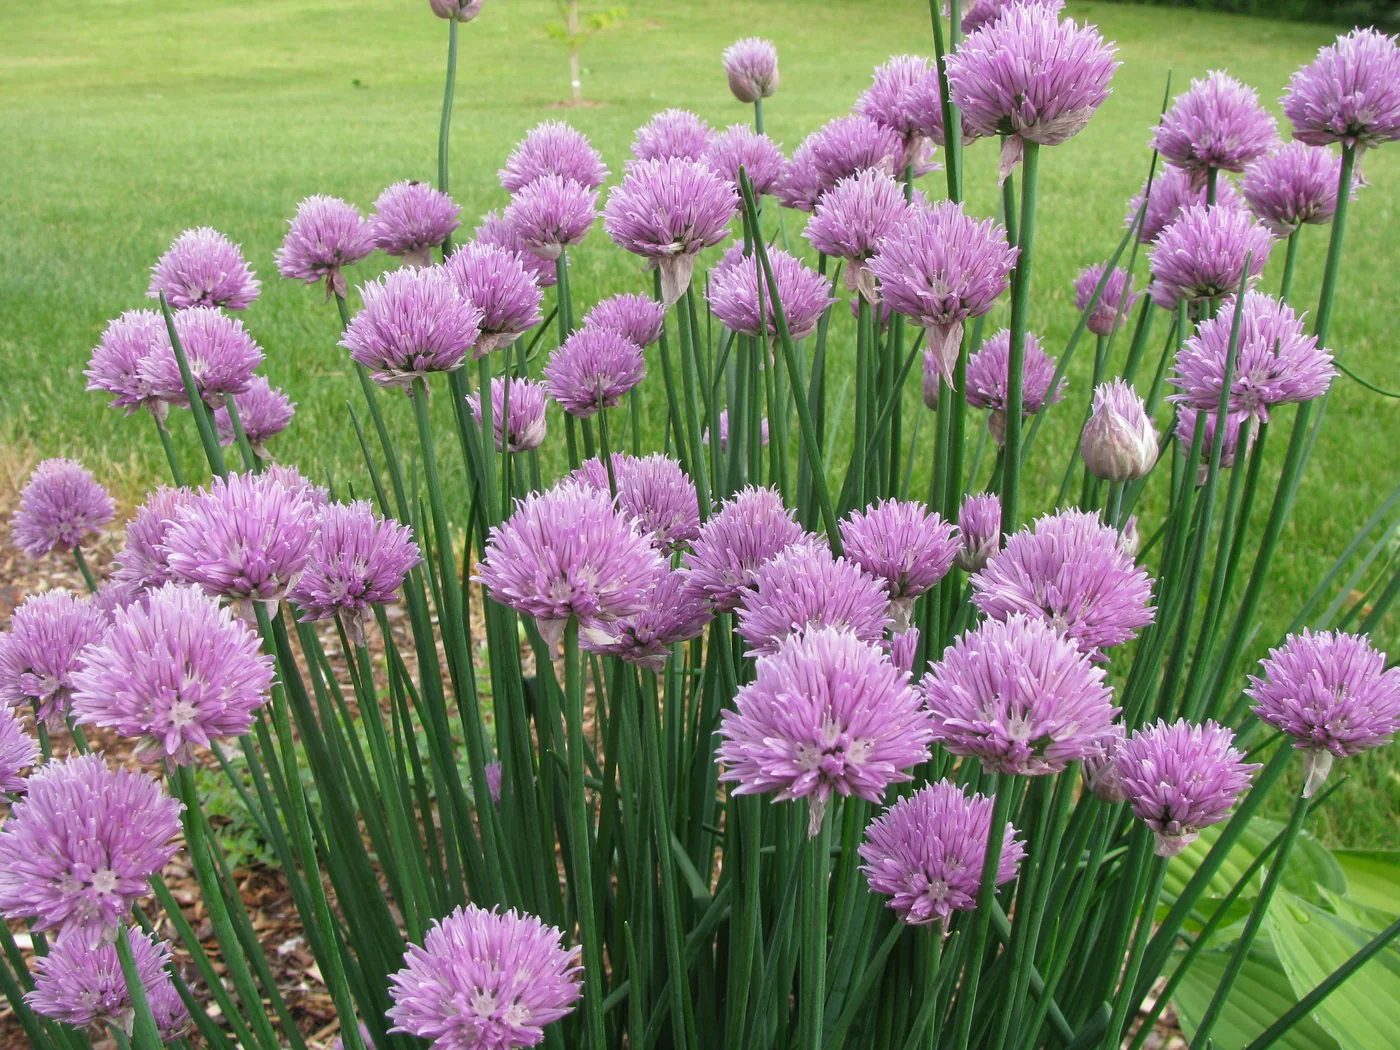
NC State identifies common-chive flowers as edible and attractive to pollinators. Flowering is therefore a possible crop or display, not an automatic maintenance mistake. Decide which heads you want to use and which will remain for visitors before removing them all. NC State: common chives
Choose a recognizable flower area: one clump, one side of a larger planting or simply a few marked stems. Keep it obvious to anyone else harvesting. In a very small pot, retaining a handful of flowers may be the scale that fits; a whole border can support a larger display. Neither requires abandoning your separate leaf-harvest routine.
When collecting flowers for food, use correctly identified culinary plants and inspect the heads before bringing them inside. Keep flower stalks separate from the fine leaf bundle. If flowers are being left for insects, inspect before cutting around them. You can choose to postpone a particular head while still harvesting another part of the planting.
End the flower stage without creating unwanted seedlings
Wisconsin explains that chives can self-seed and that deadheading reduces volunteers. Remove spent heads before mature seed is released if you want to keep the planting in defined clumps. Allowing bloom and allowing seed are separate choices. Wisconsin Extension: chives
Follow each finished flower stalk down through the leaves and cut it out deliberately. Collect the heads rather than dropping them across the bed. If a few heads are being retained for seed, label that exception and keep them apart from routine cleanup. An intentional seed plant is easier to manage than a vague decision to let everything happen.
Check the surrounding soil during later weeding, especially where previous heads were left. Do not harvest unidentified grassy seedlings solely because they emerged near chives. Keep the original planting boundary visible and remove unwanted volunteers once identified. The amount of follow-up work will help you decide how many seedheads, if any, to retain next time.
Judge renewal by the next usable growth
A successful division is more than a row of newly filled pots. Return to each planting and compare stability, leaf renewal and the care required to maintain moisture. Keep the plants that are establishing well and avoid immediately repeating a heavy cut just to make them look uniform.
Use a brief record with the division date, source clump and first modest harvest. Add any change in soil or position. If one division performs better, you can compare the growing circumstances without pretending that a single observation proves a universal rule. The record is there to guide your next practical choice.
Review whether the arrangement now supplies the amount of chives you use and whether flowers and cleanup remain easy to manage. Reduce unnecessary pots, keep useful labels and schedule the next renewal around plant condition. For winter leaves, assess the actual indoor light with the indoor herb guide before bringing every spare division into the house.
Sources & further reading
We favor university extension guidance and original product documentation. Linked sources support the specific facts cited; they do not endorse Garden Gear Atlas.
- NC State: common chives
- Minnesota Extension: growing chives
- Wisconsin Extension: chives
- Illinois Extension: chives
- RHS: growing chives