Separate the height you want from the growing system you need
A tall bed can provide a convenient working surface, but wall height does not by itself define an appropriate root environment. Start with three measurements: the frame's internal height, the planned finished soil surface, and the usable rooting depth. Then identify what lies below. An open-bottom bed on suitable garden soil is a different system from a bed with a solid floor, a container on legs, or a structure placed on paving.
Maryland Extension provides separate filling scenarios for existing gardens, compacted ground, and hard surfaces, illustrating why the starting surface matters. Maryland Extension: soil to fill raised beds Use that distinction to frame your local questions rather than selecting a popular layering recipe first. A design that relies on roots reaching suitable ground below cannot be assumed to work unchanged where an impermeable floor blocks that route.
Complete the structural decisions before material arrives
Read the manufacturer's assembly and installation instructions for the exact bed model, including required braces, fasteners, base preparation, and fill limits. A tall filled wall carries loads that an empty display does not demonstrate. Check that all specified parts are installed before loading. Do not assume decorative corner pieces, a liner, or a few additional screws establish the capacity of a homemade design. Structural questions need an appropriately qualified answer.
If the bed will sit on a deck, balcony, roof, elevated platform, or other supported structure, obtain confirmation of load suitability before proceeding. The total involves the bed, growing material, water, people, and other equipment, not just dry bag weights. A soil-volume calculator cannot certify that support. Keep the project paused at this decision if necessary; changing the design before filling is far easier than unloading a heavy bed after a concern appears.
Investigate the site rather than burying its history
Ask what the location was used for and whether soil or environmental testing is appropriate. A routine fertility test does not answer every contamination question. If there is a known or suspected concern, use current local extension or environmental guidance for the specific situation. Do not treat a generic sheet of fabric or cardboard as proof that an edible garden is isolated from contamination. Barriers, roots, dust, runoff, and exposure routes require context-specific assessment.
Also inspect drainage after ordinary rain if possible. Record where water collects and where the bed's discharge would go. A deep container does not automatically cure a poorly chosen site. Avoid placing it where the installation blocks existing drainage or directs water onto a building or walkway. Resolve these questions with the appropriate site or construction advice before buying fill; otherwise the new soil may conceal the problem without changing its cause.
Choose a traceable root-zone material
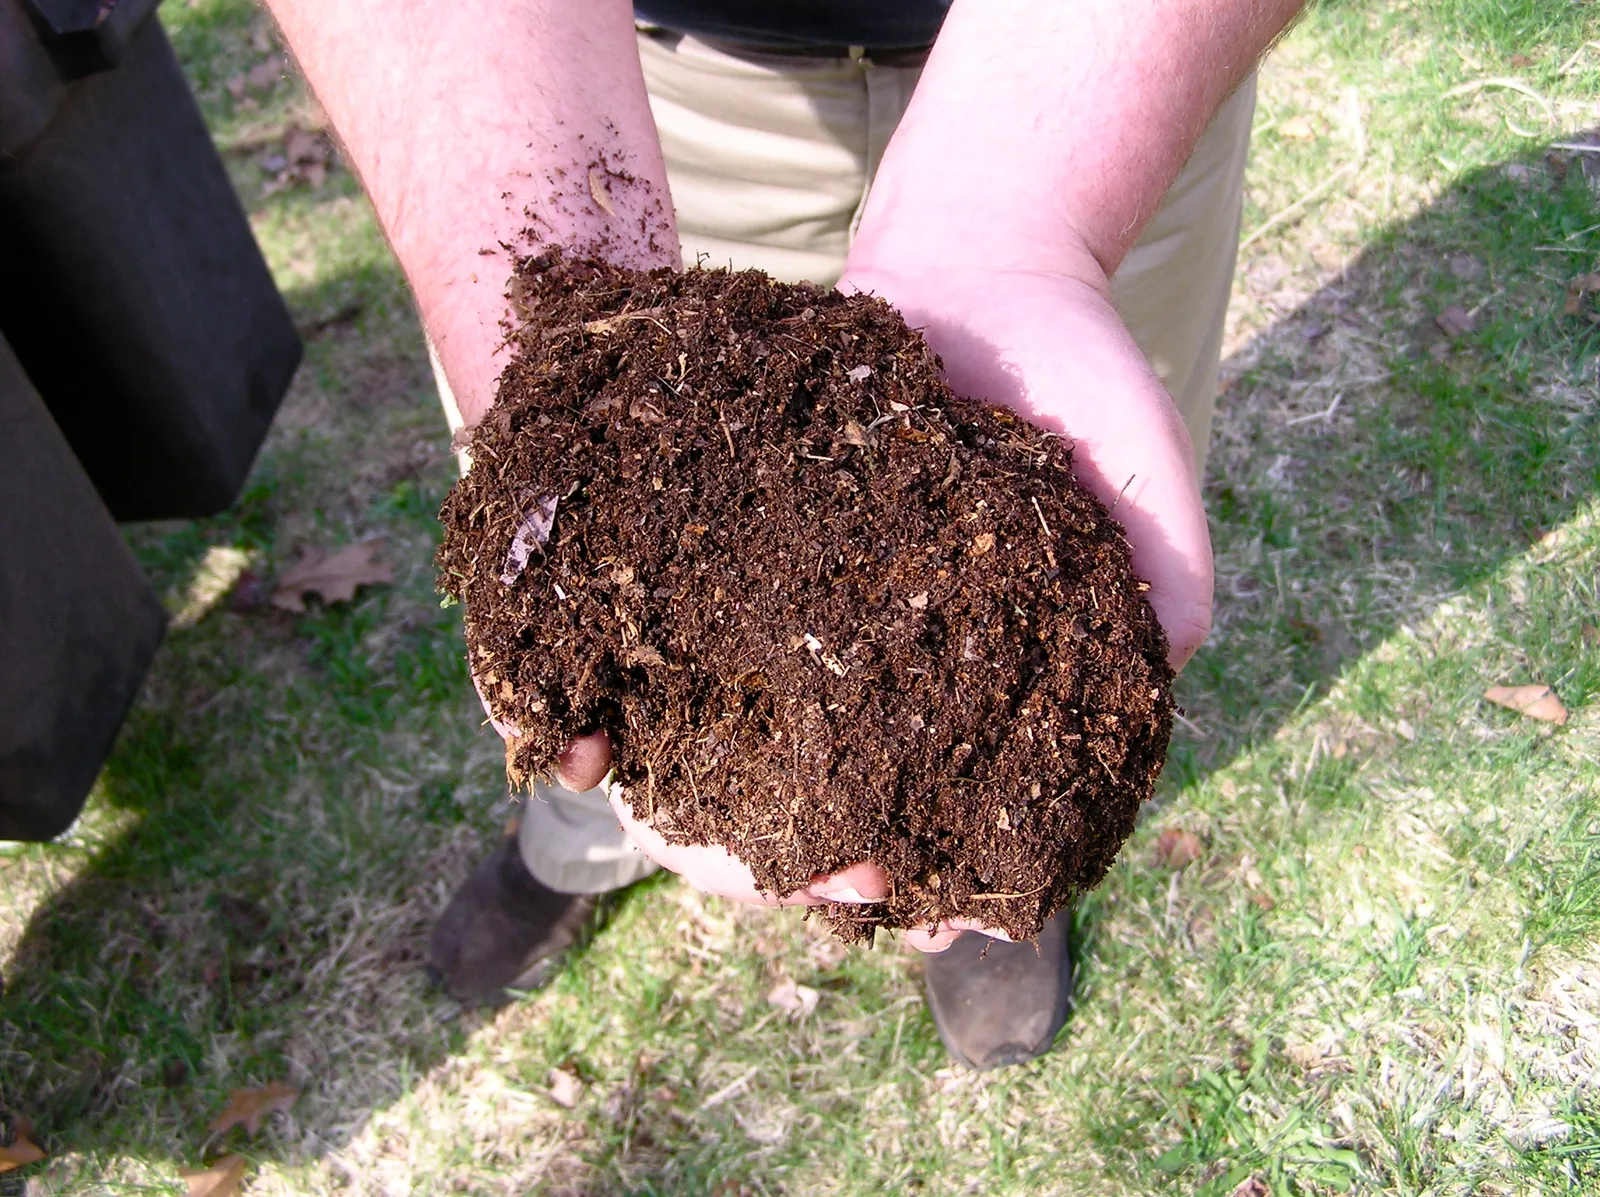
Ask suppliers what the material contains, where it came from, and what testing or analysis is available. Keep the product name and batch or delivery details when provided. Words such as garden soil, topsoil, raised-bed mix, and compost are not interchangeable specifications. Request guidance for the actual installation, crop, and depth rather than assuming the most prominently labeled bag is appropriate for every part of a tall bed.
Utah State discusses both compost-enriched soil and soilless mixes as raised-bed options and recommends soil testing to determine needed nutrient additions. Utah State's raised-bed guidance That does not make every mixture equally suited to every bed. Use the source information and local advice to select the root-zone material, and avoid adding fertilizer automatically before you understand what the purchased blend already supplies.
Evaluate proposed lower-fill materials as a design choice
Cheap volume is attractive in a tall frame, but the lower portion remains part of the physical system. Before adding logs, brush, miscellaneous yard waste, or other fillers, ask what happens as that material changes, how water moves through the arrangement, and whether the intended root zone stays adequate. Do not copy a social-media cross-section without knowing the materials, dimensions, climate, crop, and management assumptions behind it.
Keep unknown demolition debris, chemically contaminated material, trash, and treated waste out of a garden-fill plan. Avoid presenting gravel at the bottom as a universal drainage solution; layered arrangements need a reason appropriate to the actual system. If the goal is to raise the working height while reducing soil volume, consider a purpose-designed elevated planter with verified support and drainage instead of disguising an unsupported internal platform beneath soil. Compare complete designs, not just the quantity of bags saved.
Calculate the volume from the approved internal dimensions
Once the design and intended fill depth are settled, measure inside the walls. For a rectangular bed, multiply internal length by internal width by fill depth, with all dimensions in the same unit. In feet, the result is cubic feet; divide by 27 for cubic yards. Keep wall thickness, braces, and any manufacturer-specified unfilled headspace separate from the external catalog dimensions. They affect the amount that can actually be placed.
For illustration, a bed with an internal footprint of 3 by 6 feet and a planned 20-inch fill depth has a geometric volume of 30 cubic feet: 3 × 6 × 20 ÷ 12. This example does not prescribe a depth or mixture. If the approved design contains a separate lower component, calculate each region explicitly rather than subtracting a guessed percentage. Ask the supplier how settling, handling losses, and delivery measurement should be considered for the selected material.
Plan filling as a controlled delivery and inspection job
Confirm unloading space, access through gates, the carrier route, and safe lifting arrangements. Decide how much material can be moved without leaving pathways obstructed. Inspect the delivered material before distributing it through the bed, and resolve discrepancies while the source is identifiable. Take photographs of the assembled empty bed and any specified internal components so their condition is documented before they are hidden.
Fill according to the bed and material instructions, checking walls, braces, and drainage access as work proceeds. Do not climb into a bed or compact its contents with equipment unless the design and guidance specifically allow it. If a wall moves unexpectedly, a fastener fails, or a support appears unstable, stop loading and seek appropriate help. Continuing to add material because the delivery is waiting can turn an observable warning into a much harder recovery problem.
Commission the irrigation and surface before planting
Install and inspect the intended watering arrangement while the surface is accessible. Check multiple positions rather than assuming one wet spot proves uniform coverage. Minnesota Extension notes that raised beds can dry more quickly and that bed design affects management. University of Minnesota: raised-bed gardens Build a checking routine appropriate to the actual medium and crop, not a fixed watering schedule copied from a different bed.
Observe the finished surface after the initial preparation and watering recommended for the material. Record any settling and confirm that the usable rooting depth still matches the plan. Do not respond to every small change by topping up immediately without checking plant placement and the intended headspace. Keep labels, access openings, and irrigation connections visible. This commissioning stage gives you a chance to correct practical problems before a mature planting makes every adjustment more disruptive.
Keep a fill record for the bed's entire life
Record the bed model or design, installation date, internal dimensions, source materials, quantities, and any separate layers or components. Add test results and photographs. That record explains future settlement and helps an adviser distinguish a changing organic fill from other problems. It also prevents a later gardener from assuming the bed contains uniform mineral soil when the original design used a different system.
Review the bed periodically for structural condition, drainage access, soil level, and crop performance. Follow the manufacturer's maintenance instructions and obtain qualified advice for structural changes. A deep raised bed is a long-term installation, not just a one-day bag calculation. The best filling plan keeps the root environment, material provenance, support, and future maintenance understandable, so that each later decision can be made from evidence rather than from whatever disappeared beneath the first layer of soil.
Sources & further reading
We favor university extension guidance and original product documentation. Linked sources support the specific facts cited; they do not endorse Garden Gear Atlas.
- University of Maryland Extension — Soil to Fill Raised Beds
- Utah State University Extension — Raised Bed Gardening
- University of Minnesota Extension — Raised bed gardens