Inspect the stem where it meets the medium
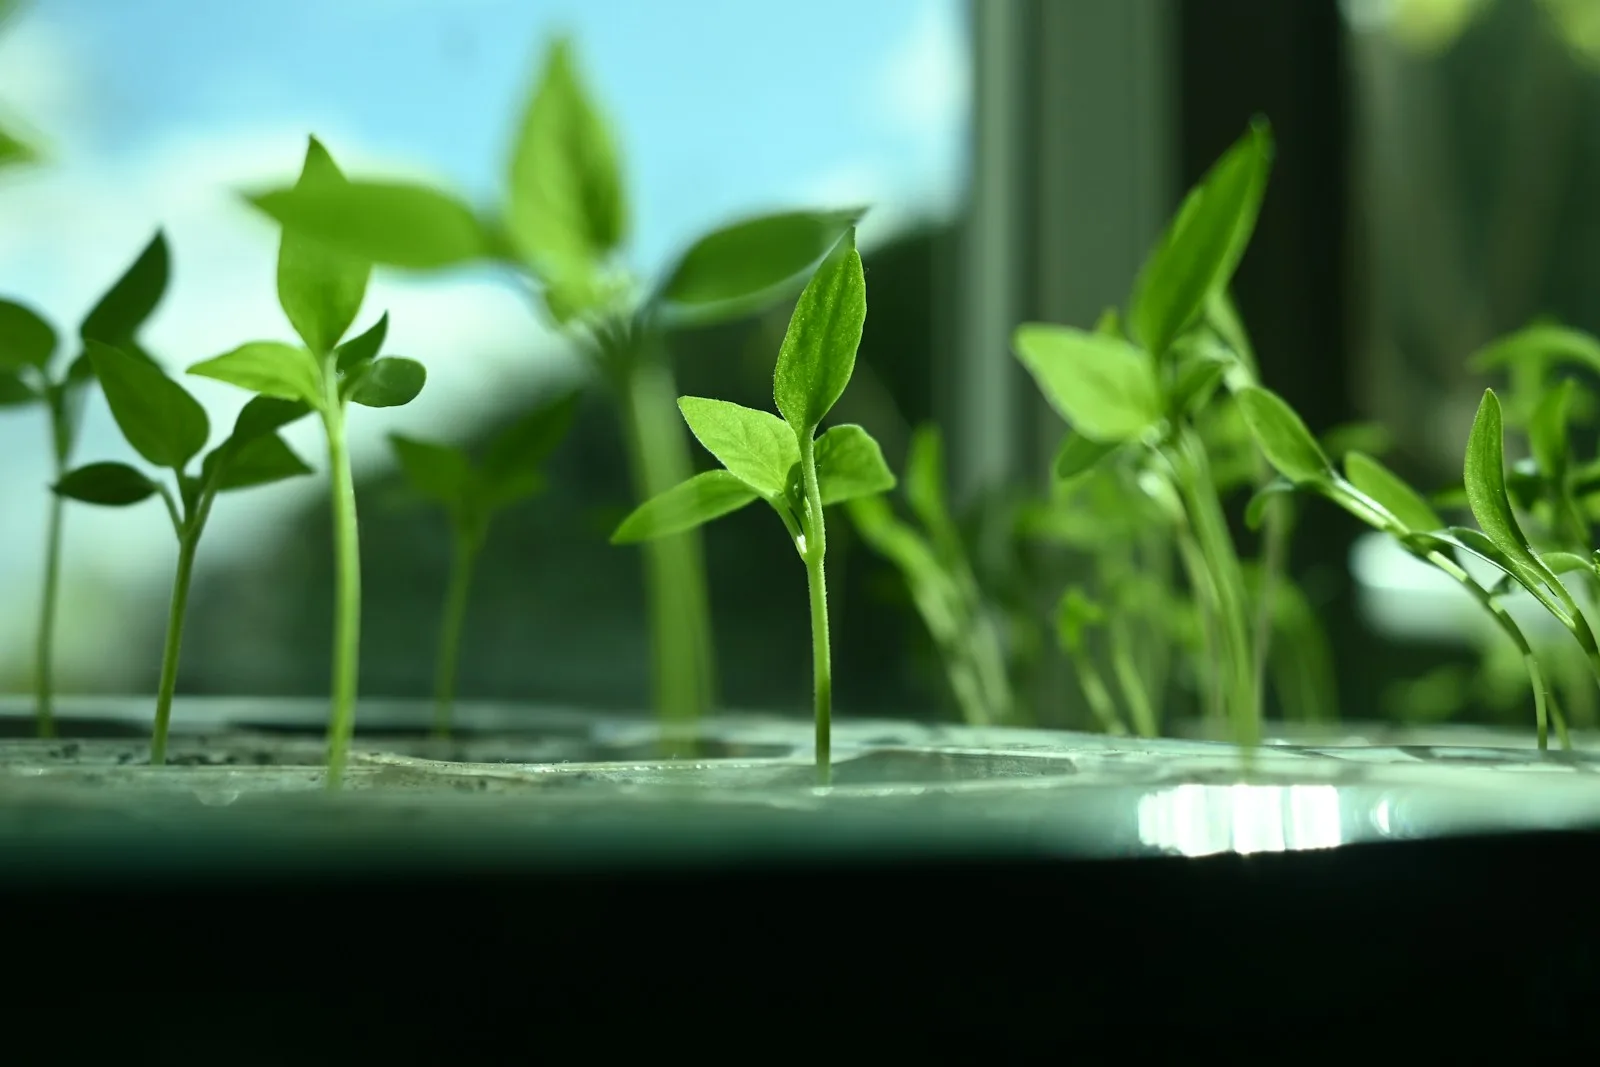
A seedling lying over may have disease, weak elongated growth, physical damage, or a moisture problem. Look closely at the stem near the surface rather than judging only the leaves. A constricted, discolored, or rotted stem that can no longer support the seedling is concerning. Photograph the tray from above and the stem from the side. Include a healthy neighboring seedling for comparison, but avoid pulling every plug apart before you understand the pattern.
Wisconsin's damping-off reference describes lower-stem collapse shortly after emergence and makes clear that affected seedlings cannot be restored. Propping one up with a toothpick or burying the damaged stem does not repair rotted tissue. Separate the question of whether that individual survives from the more useful question of how to protect the remaining batch. Keep a record of which cells failed first, because the distribution can reveal shared conditions such as a low, persistently wet portion of the tray.
Investigate missing seedlings as well as fallen ones
Not every damping-off problem appears above the surface. Seeds or seedlings can decay before emergence, leaving gaps that look like poor germination. The Pacific Northwest handbook recommends examining nonemerged seed when investigating an unexplained poor stand. Work on a small representative part of the tray and retain the seed packet, sowing date, and depth record. These details matter when distinguishing a seed-quality concern from conditions after sowing.
Avoid calling a batch diseased simply because it is slower than another crop. Different species and lots can have different germination requirements. Compare the observed conditions with the packet and a crop-specific reference, including whether light or darkness was required. If seeds are still firm and the sowing window has not elapsed, patience may be more appropriate than adding another treatment. If tissue is decayed, take photographs and seek guidance before reusing that medium. A clear description is more useful than the broad statement that nothing grew.
Give each batch an appropriate germination environment
Temperature should support the crop's germination, not follow a single setting for every tray. Cool, wet conditions can prolong the vulnerable stage, while inappropriate heat creates another problem. Mississippi State Extension connects drainage, temperature, light, and air movement with prevention in its vegetable damping-off guidance. Measure conditions where the seeds are, especially when using a heating mat beneath several different trays. Room temperature alone does not describe the medium directly above a heat source.
Keep slow and fast crops in separately manageable batches when possible. That makes it easier to change cover or heat arrangements as seedlings emerge without subjecting every crop to the needs of the last one to germinate. Label the batch with sowing date and crop identity, and write the intended transition after emergence. If the setup needs daily attention you cannot provide, reduce its scale. A smaller number of seedlings with dependable observation can be more useful than a crowded shelf whose conditions change unnoticed.
Water for moisture and drainage together
The goal is a suitable moist medium with air available around roots, not a tray that is always visibly wet. Check more than the surface color. Note the weight of the container, whether water remains in the catch tray, and whether some cells dry differently from others. A tray that slopes slightly can create both wet and dry zones. Correct the setup rather than repeatedly soaking everything to rescue the driest corner.
Minnesota Extension explains that damping-off organisms can move through medium and shared water in its seedling prevention guide. Keep suspect batches from sharing drainage or bottom-watering reservoirs with clean ones. Bottom watering does not sterilize the system and should not mean leaving plugs immersed indefinitely. If you reduce watering after a problem, continue checking live seedlings so the medium does not become completely dry. Preventing excessive wetness and maintaining viable seedlings are simultaneous requirements, not competing instructions to alternate between extremes.
Manage the transition after emergence
Once shoots appear, review the light, spacing, airflow, and humidity enclosure together. A propagation dome can be useful during one stage and hold unnecessary humidity during the next. Follow the crop and equipment guidance for its removal or ventilation. Place seedlings where light supports sturdy growth and monitor their response. Long, leaning stems are a reason to assess the setup; they should not automatically be counted as damping-off if the stem base is sound.
For example, imagine two crop inserts beneath one dome, with one already emerged and the other still germinating. Move the emerged group to its next appropriate conditions if you can do so without disrupting roots or contaminating the clean area. Leaving it enclosed solely for the slower crop makes the batch difficult to manage. Plan this separation before sowing mixed trays next time. A fan should create appropriate air movement without repeatedly battering fragile stems or drying edge cells while the center stays wet.
Contain the affected batch and reset the workflow
Remove dead or clearly affected seedlings with their associated medium as advised for the situation, and keep suspect material out of the next sowing area. Work with healthy trays before suspect ones. Use the equipment-cleaning guide for the wash, appropriate disinfection, drying, and storage sequence rather than improvising stronger mixtures in an active seedling tray. Repeatedly transferring tools between batches undermines the purpose of cleaning them at the beginning of the season.
If several trays are involved, map them by shelf, catch tray, medium batch, and sowing date. This can reveal a shared pathway that a plant-by-plant list misses. Tell a diagnostic service which batches are connected and ask whether a sample is needed before discarding every possible clue. Do not use cinnamon, tea, or another household remedy as a substitute for understanding the environment. A visibly cleaner surface does not establish that the cause of stem collapse has been removed, and adding more liquid may complicate moisture management.
Resow with one documented correction at a time
Before resowing, confirm that there is still time to produce useful transplants. If the original planting target is close, purchasing healthy plants or sowing a different suitable crop may be more practical than forcing another batch to grow too quickly. Use new suitable medium and prepared equipment, and record the concrete changes: separated catch trays, corrected temperature, improved lighting, or a different watering check. Do not reproduce the same conditions and merely add an unverified preventative ingredient.
Keep a small reserve of the sowing record, photographs, and medium packaging until the replacement batch establishes. Judge progress by emergence, intact stem bases, normal leaf development, and a manageable watering pattern. Record success as well as losses so the next season's setup reflects what worked. If collapse repeats despite appropriate conditions, seek diagnostic help rather than cycling through increasingly aggressive treatments. The useful outcome is a reliable propagation process and healthy plants ready for their next stage, not the appearance of rescuing a seedling whose supporting tissue has already failed.
Sources & further reading
We favor university extension guidance and original product documentation. Linked sources support the specific facts cited; they do not endorse Garden Gear Atlas.
- University of Minnesota: preventing seedling damping off
- University of Wisconsin: damping off
- Mississippi State University: damping-off in vegetables
- Pacific Northwest Pest Management Handbooks: damping-off in vegetable seedlings