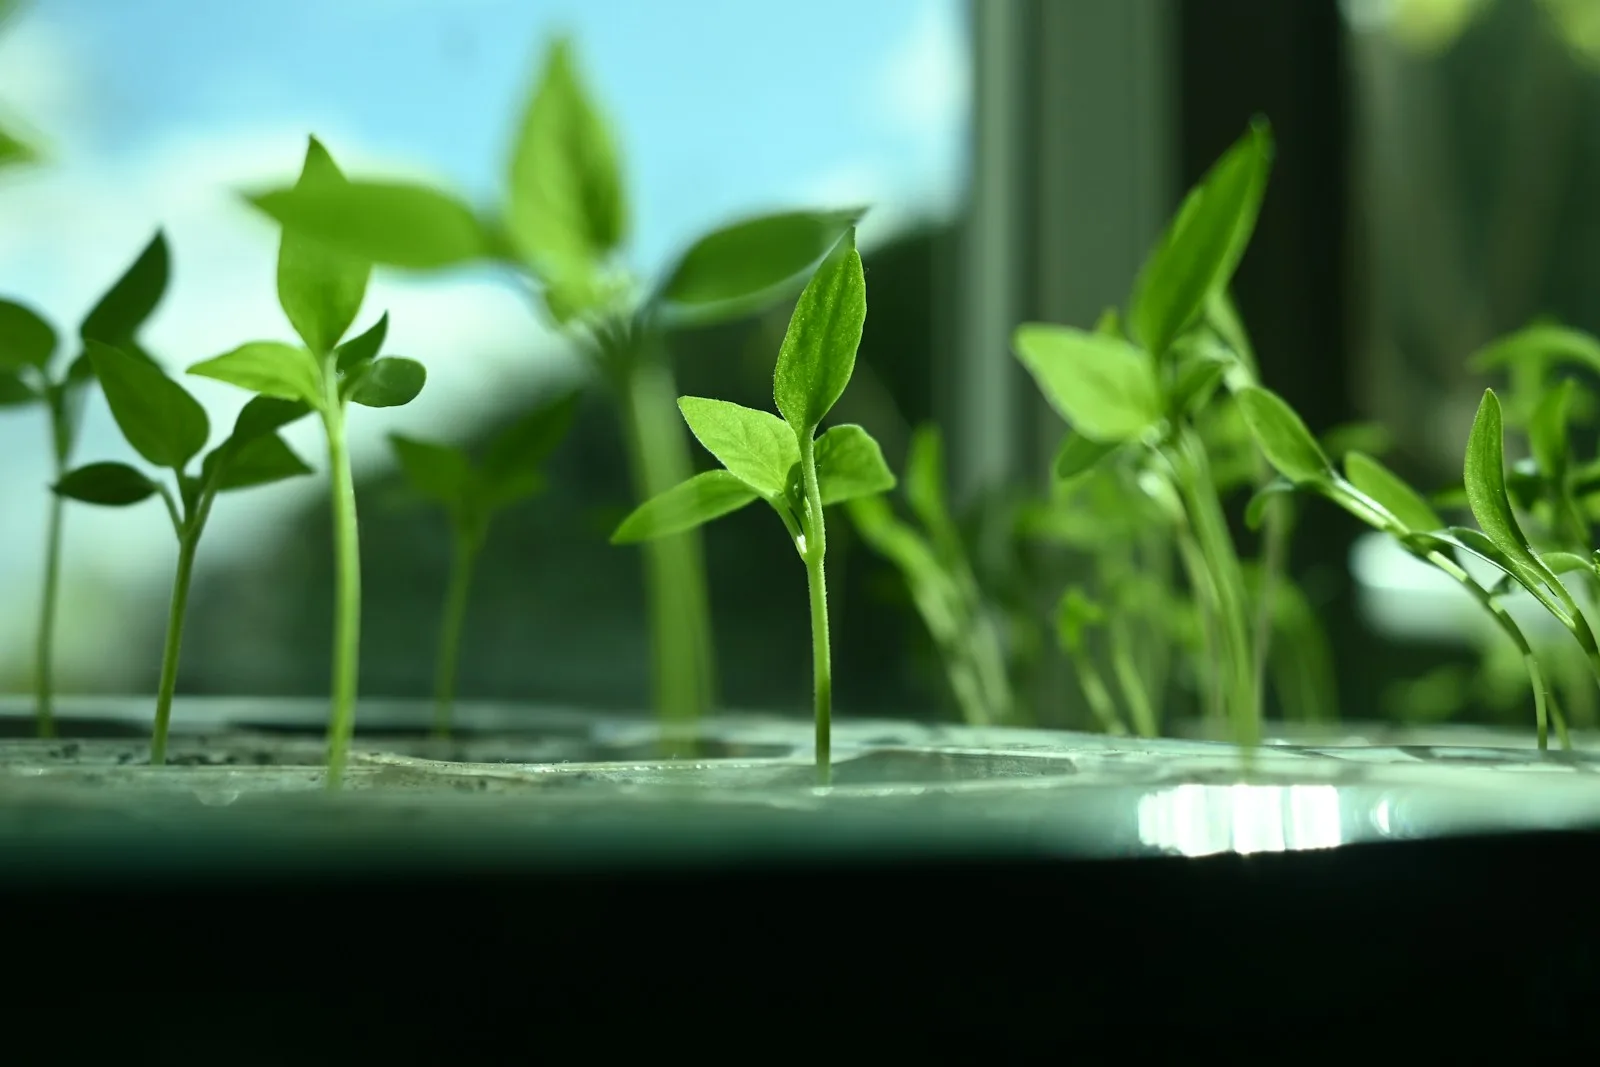
The goal is acclimation, not a toughness test
An indoor seedling has grown in a relatively protected environment. Outside it meets stronger light, moving air, and changing temperatures. University of Maryland Extension describes hardening off as preparation for that transition and recommends beginning one to two weeks before plants are set into the garden. The purpose is to introduce change gradually, not to prove a plant can survive the harshest afternoon you can find.
Use that period as planning space rather than a countdown that must finish on schedule. You may progress smoothly, repeat a stage, or pause for unsuitable weather. The target is a seedling ready for its intended conditions, not a checked box saying it spent a fixed number of days on the porch. Keeping the process flexible is especially useful when several crops share one indoor shelf.
Checkpoint one: set a realistic outdoor target
Choose a provisional transplant date from your crop instructions and local growing guidance. Then check the forecast as that date approaches. Expected last frost is useful context, but it is not a promise about an individual night. The USDA hardiness map describes average annual extreme minimum winter temperature; a zone number does not provide an exact last-frost date or tell you today's soil conditions.
Crop requirements also differ. UNH's tomato guide advises waiting until frost danger has passed and soil has warmed to about 60°F before transplanting tomatoes. Its hardening guidance is more temperature-protective for tomatoes than a generic cool-season schedule. This is why a cabbage tray and a pepper tray should not automatically follow identical outdoor hours just because they were sown on the same weekend.
Checkpoint two: prepare a place you can manage
Find a shaded location protected from strong wind, with a stable surface and an easy route back indoors. Minnesota Extension recommends initial outdoor exposure for a few hours in afternoon warmth, with shelter from wind. Do not choose the spot only by how close it is to the door: watch where sunlight moves during the period when you will be away.
Make the carrying arrangement practical before moving the first batch. A tray needs support underneath when it is filled and wet. Keep labels secure, leave enough space to inspect plants, and decide who will bring them in if plans change. If you can only check plants before and after work, design the exposure around those check-ins rather than copying a schedule that assumes someone is home all day.
- Choose shelter from strong wind and the first intense direct sun.
- Confirm the route indoors is clear and the tray is supported.
- Keep crop groups labeled so their requirements remain distinct.
- Check the forecast before leaving plants unattended outside.
Checkpoint three: increase exposure in response to the plants
Start with a manageable outing, then inspect the seedlings when they return. Minnesota's approach gradually increases both time outdoors and direct sunshine. Change one part of the routine deliberately: a little longer outside, or a somewhat brighter position, rather than suddenly changing duration, wind, and sun together. That makes it easier to understand which condition may be causing trouble.
A practical log can be very short: crop, time outside, location, approximate weather, and plant appearance afterward. If a batch struggles, repeat a gentler stage instead of treating the planned finish date as a deadline. Do not interpret leaf damage as evidence that the process is working. Move stressed plants to suitable protection and investigate moisture, temperature, and exposure before proceeding.
Purchased transplants also deserve a question about their recent conditions. Ask whether they have already been acclimated and where they were kept. A plant bought from a protected display is not automatically ready for an exposed garden merely because someone else grew it from seed.
Checkpoint four: keep checking moisture
Do not turn reduced watering into deliberate severe wilting. UNH's seed-starting basics advises avoiding wilt during hardening. Its tomato guidance also notes that seedlings can lose water faster outside than inside. These points are compatible: the amount needed depends on the plant, container, and weather, so a rigid indoor watering habit may no longer fit.
Check the growing medium before watering and again after exposure, especially in small cells. Avoid assuming every tray dries at the same rate. Give water because the plants and medium need it, not because a timer says this is the next stage of hardening. A catch tray full of standing water is not a substitute for checking root-zone moisture, and a dry-looking leaf is not by itself a diagnosis of drought.
When the weather changes, change the plan
Strong wind, an unexpected cold period, or conditions outside the crop's tolerances are reasons to bring plants back to protection. Maryland warns against exposing tender seedlings to windy days or temperatures below 45°F in its general guidance. That is not a universal safe threshold above which every tender crop is comfortable; follow any warmer limits given for the crop you are actually growing.
A cold frame can be useful, but it requires management. UNH's seed-starting basics describes a ventilated cold frame as one option for gradual acclimation. Do not treat a closed cover as an unattended guarantee of ideal conditions. Check the environment inside and adjust ventilation appropriately. For a small batch, a protected outdoor position and an easy carrying routine may be sufficient without purchasing another structure.
The final check happens before planting
When seedlings tolerate the intended exposure and the crop's outdoor conditions are suitable, prepare the planting area before lifting them from their pots. Oregon State's Central Oregon vegetable guide advises transplanting into pre-moistened soil on a cloudy day or early in the day. Its regional calendar is specific to Central Oregon, but preparing the site and avoiding an unnecessarily stressful move are useful points to discuss with your local guidance.
Keep your original target date and the actual planting date in the record. If weather delayed the move, that is useful information for next season, not a failed plan. The seed-start planner can display a hardening window relative to the target you choose. Your observations, crop requirements, and current conditions decide when that window turns into a successful garden move.
Sources & further reading
We favor university extension guidance and original product documentation. Linked sources support the specific facts cited; they do not endorse Garden Gear Atlas.
- University of Maryland Extension — Hardening Off Vegetable Seedlings
- University of Minnesota Extension — Starting seeds indoors
- University of New Hampshire Extension — Seed Starting Basics
- University of New Hampshire Extension — Growing Vegetables: Tomatoes
- Oregon State University Extension — Growing vegetables in Central Oregon
- USDA — Plant Hardiness Zone Map