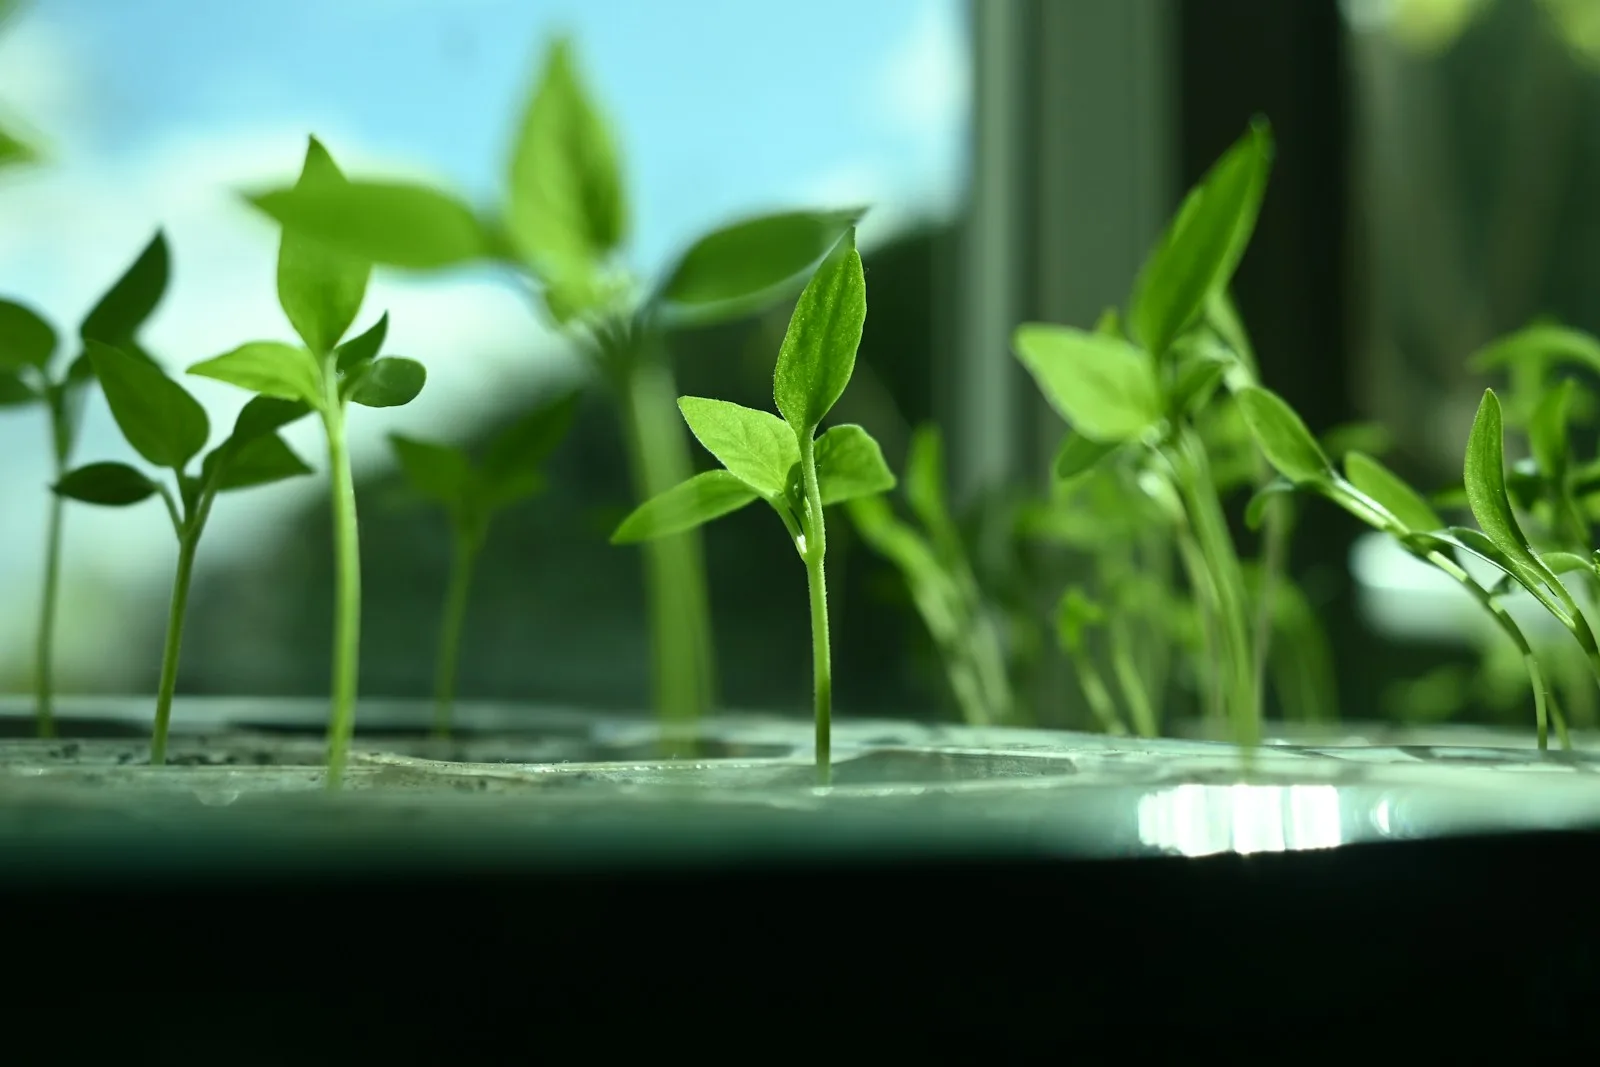
A tray is one stage in a growing plan
A compact tray looks efficient on a shelf because it holds many seeds in a small footprint. That is not the same as holding that many garden-ready plants. Leaves expand, root systems develop, and some crops spend longer indoors than others. Before buying, write down the crops, desired final plant numbers, expected outdoor targets, and whether you intend to transplant into larger pots along the way.
University of Maryland Extension describes approximate indoor growing periods of 5 to 6 weeks for tomatoes and 8 to 10 weeks for peppers and eggplants. These are broad crop examples, not guarantees for every variety or room. Use packet and local guidance to set your dates. A long indoor stay deserves a different space plan from a short start close to the outdoor planting date.
Read five specifications before comparing prices
Start with outside length and width, including lips or handles, so the tray fits the shelf and its supporting surface. Then examine cell depth, cell opening dimensions, and the manufacturer's stated cell volume if available. Two trays with the same number of cells can offer different root space. A familiar format name is not a substitute for measured dimensions or a verified compatibility statement.
Distinguish the planted insert from the supporting tray underneath. Minnesota Extension says seed-starting containers need drainage holes. A solid catch tray can protect the shelf and support bottom watering, but it does not turn an undrained planting container into a drained one. Check what a listing actually includes: an insert, a solid tray, a dome, or some combination. Otherwise, apparent price comparisons may be comparisons of different components.
- Outside footprint: will it fit the shelf with room to handle it?
- Cell dimensions and volume: what space does each plant receive?
- Drainage: which component drains and which catches water?
- Support: can the filled tray be carried without excessive flexing?
- Compatibility: do the insert, tray, and optional dome actually fit together?
Count future pots as carefully as present cells
Suppose you want twelve final plants and choose to start sixteen as a personal allowance for losses or selection. That means making a home for up to sixteen seedlings, not merely finding sixteen empty cells. If all sixteen later occupy square pots with a 4-inch footprint, a four-by-four arrangement takes at least 16 by 16 inches before allowing for handling gaps and foliage. The arithmetic is simple, but it exposes the next space bottleneck.
Do the same exercise for the lighted area. A shelf can physically hold pots outside the area your fixture adequately illuminates. Use the lighting manufacturer's placement and coverage guidance rather than assuming the full shelf receives identical light. If the future setup does not fit, reduce the plant count, stagger suitable crops, or reconsider which plants to purchase as transplants. You do not have to fill every cell simply because it is available.
Use the crop to choose the starting method
Individual containers keep neighboring root systems from becoming entangled, a benefit noted by Minnesota Extension. Some gardeners prefer sowing into a shared flat and separating seedlings early; others prefer one growing space per plant from the beginning. Either approach needs a plan for handling roots and identifying varieties. Label each group before sowing, and keep the packet where its instructions remain easy to consult.
Not every vegetable belongs in a seed tray. University of New Hampshire Extension identifies carrots and parsnips as crops whose taproots can be damaged by transplanting and that are generally direct-sown. Check crop guidance before buying cells for the entire garden. Choosing direct sowing where appropriate removes a tray, a potting-on task, and indoor growing space from the project without requiring a more elaborate propagation system.
Pot on when the growing space is no longer adequate
Look at the plant and its root space rather than relying on a calendar alarm alone. Shared-flat seedlings need separation before crowding becomes severe; UNH identifies the appearance of the first true leaves as a useful stage for early transplanting. Those leaves follow the initial seed leaves. An individually grown seedling may need a larger pot later as it outgrows its original cell, even if outdoor planting is still several weeks away.
Prepare the new container and moisten the growing mix before lifting the plant. Support the root mass, and if you need to steady a small seedling, hold a leaf rather than squeezing its fragile stem. Avoid tearing roots apart in a hurry. UNH's general transplanting advice keeps seedlings at their original depth; use crop-specific instructions for exceptions rather than burying every seedling deeply because that practice is familiar for tomatoes.
After moving the seedlings, label the new pots immediately and water gently. Keep track of which batch was moved and when. If a plant looks unhappy afterward, the date and recent changes give you something concrete to investigate instead of immediately buying another feed or accessory.
Three common questions before you buy another tray
Can I reuse containers? Often yes, if they remain sound and can be cleaned. Remove old growing material and follow an appropriate cleaning and disinfection procedure before reuse. Minnesota Extension distinguishes removal of dirt and debris from disinfection; they are not interchangeable steps. Follow product-label instructions for any disinfectant rather than improvising stronger mixtures.
Do I need a special seed-starting mix? Maryland Extension explains that good soilless growing media provide air, moisture, and root support, and that a specially labeled seed-starter product is not essential for general vegetable sowing. Match texture and handling to the seeds and container. The important decision is a suitable growing medium, not simply which package has the most specialized name.
Will a larger tray solve weak growth? Not necessarily. It changes available space, but it does not diagnose poor light, inappropriate watering, or a schedule that started too early. Review the conditions before adding equipment. A useful purchase fixes a specific limitation you have identified.
Leave with a complete, modest setup
Before sowing, place the empty starting containers and planned later pots on the shelf. Check access for watering and lifting, where surplus water will go, and where plants will move during hardening off. This dry run costs nothing and reveals awkward fits early. Use the seed-start planner to work backward from your chosen transplant target, then buy only the container capacity that supports that plan.
Sources & further reading
We favor university extension guidance and original product documentation. Linked sources support the specific facts cited; they do not endorse Garden Gear Atlas.
- University of Maryland Extension — Starting Vegetable Seeds Indoors
- University of Minnesota Extension — Starting seeds indoors
- University of New Hampshire Extension — Starting Plants From Seed
- University of Minnesota Extension — Clean and disinfect gardening tools and containers