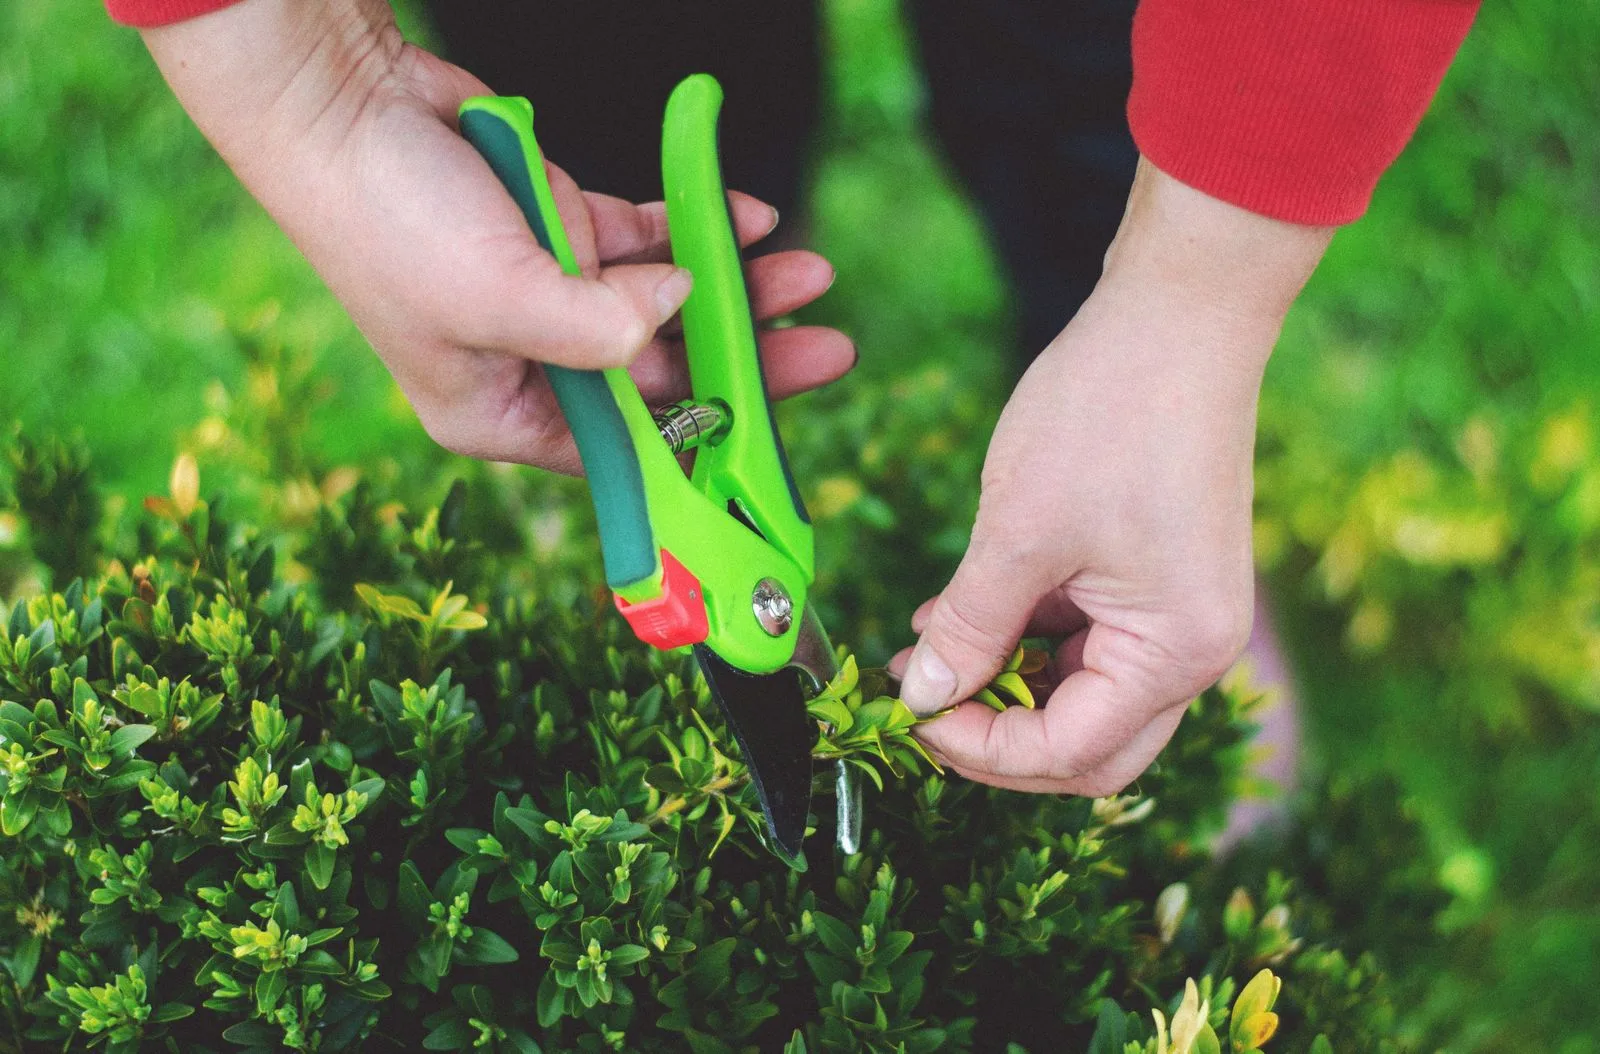
Diagnose the poor cut before reaching for a sharpener
If a pruner starts crushing or tearing stems, first ask whether the tool suits the material being cut. A branch beyond the model's capacity, awkward access or an attempt to twist through a cut can make a serviceable tool seem blunt. Change to an appropriate tool or cutting position rather than applying more force or immediately removing metal from the edge.
Next, inspect the tool while it is safely at rest. Look for sap, soil, a loose pivot, damaged handles, an unreliable lock or a spring that does not return properly. A clean edge is only one part of the cutting system. Sharpening will not correct a loose or misaligned mechanism and may complicate a problem that requires adjustment or replacement parts.
Separate your decision into three outcomes: routine cleaning, model-authorized maintenance, or stop using and obtain help. Put a tool with a crack, bent blade or uncertain locking function aside where another person will not casually pick it up. A small label describing the fault is more useful than placing it back among working tools.
Set up a controlled cleaning and inspection area
Work at a stable, well-lit surface with enough space to keep the sharp edge away from loose supplies and your supporting hand. Wear appropriate protection for the task and any cleaning product used. Keep children and pets away from the work area. Do not clean an open pruner while walking through the garden or balancing it on a knee.
Remove loose debris and use a cleaner compatible with the tool's materials to address remaining buildup. Avoid assuming that a strong solvent is safe for grips, coatings or plastic parts. Follow the manufacturer's instructions before immersing anything or taking a mechanism apart. For powered pruning equipment, this manual-tool guide is not a servicing procedure; isolate power as its manual requires and use authorized support.
Clean before inspecting the edge closely. University of Minnesota Extension also stresses removal of visible dirt before disinfection, because debris interferes with that process. A polished-looking blade and a disinfected blade are not the same thing. UMN Extension on cleaning and disinfecting tools.
Treat disinfection as a plant-health procedure
Disinfection addresses possible transfer of plant pathogens; sharpening addresses the edge. Build a hygiene step into work involving infected plants and before moving tools between gardens. Where a specific plant disease is suspected, ask local Extension or another qualified plant-health source whether tools should be disinfected between plants or between cuts. The answer should follow the disease situation rather than a blanket social-media recipe.
Use a suitable product according to its current label, including preparation, contact time, protective equipment, material compatibility and disposal instructions. Do not mix disinfectants or cleaners. A quick wipe is not a substitute for whatever contact time the chosen product requires, and a stronger solution is not automatically more effective or less damaging.
Keep cleaning supplies distinct from tool lubricants and label containers clearly. If a tool needs rinsing or drying after treatment, complete that step before lubrication or storage as instructed. Do not leave wet cutting tools in a closed pouch while assuming that the disinfectant will also protect the metal from corrosion.
Follow the original blade geometry
Find the exact model's instructions before sharpening. Identify which component is the cutting blade, which surface is beveled and whether the manufacturer permits user sharpening. Bypass pruners, anvil pruners, hedge shears, knives and saws are not one interchangeable sharpening category. A general-purpose sharpener does not establish a safe procedure for every tool it can physically touch.
FELCO's maintenance guidance emphasizes preserving the factory bevel on bypass cutting blades rather than creating a new angle. It distinguishes sharpening the bevel from minimal flat-side burr removal. That distinction is important: aggressively filing the back surface can change blade contact. Follow the tool-specific instructions rather than applying a remembered angle to an unfamiliar blade. FELCO sharpening and maintenance guidance.
Use the appropriate manual sharpening tool with controlled strokes and a secure working position. Remove only what is needed for the authorized touch-up and inspect frequently. If you cannot identify the original bevel, cannot hold the tool safely or find yourself repeatedly changing angles, stop. Professional sharpening or a compatible replacement blade may be a more sensible next step than further experimentation.
Know which damage and tools are outside routine sharpening
A nick, deep corrosion, a chipped edge or a bend changes the question from maintaining sharpness to assessing remaining material and safe geometry. Do not keep filing simply until a defect disappears. Excessive removal can alter the blade shape and its relationship with the opposing component. A blade that looks shiny afterward is not necessarily restored.
University of California Master Gardener guidance recommends considering professional service when tools are very dull, nicked, valuable or outside the owner's sharpening confidence. That is a useful boundary, not a failure of garden maintenance. Include the tool model and a description of the problem when asking a service provider whether sharpening, adjustment or replacement is appropriate. UC Master Gardener tool-care guidance.
Check saw instructions separately. Tooth geometry and hardening vary, and a file intended for a pruner bevel is not a saw-sharpening system. Do not file a blade the manufacturer identifies as non-resharpenable. Similarly, avoid improvising with a powered grinder on a small pruning blade unless the manufacturer authorizes the method and you have the appropriate equipment and competence.
Reassemble, adjust and test conservatively
Disassemble only when the manual calls for it and you can reassemble the tool correctly. Use a parts tray and record the order of washers, locking components and other small pieces before removal. Fit replacement parts specified for the exact model; a spring or bolt that appears close in size may not operate correctly.
Lubricate the points and surfaces identified by the manufacturer with a compatible product. Follow the prescribed pivot adjustment rather than tightening until movement becomes stiff or leaving play to make the handles feel easier. Keep lubricants and used cleaning materials stored or disposed of according to their instructions, and avoid household mixtures with unknown suitability for the tool.
After reassembly, check lock operation, handle return and blade movement with fingers clear of the edge. Test on suitable plant material within the tool's intended capacity, using a stable position and a controlled cut. Never run a finger along the edge or shave skin to demonstrate sharpness. If the blades bind, gap, grind or still cut poorly, stop and reassess the mechanism.
Use a short after-work routine and a deeper periodic review
At the end of a session, remove debris, complete any needed disease-hygiene steps and dry the tool before storage. Inspect the edge and mechanism so damage is noticed before the next task. A quick touch-up may be appropriate after use, but do not sharpen automatically every time the tool returns to the shed regardless of its condition.
Store cutting tools locked or protected as their design permits, in a dry, secure place. A holster helps with transport and organization; it is not a substitute for drying or a safe blade lock. Keep the sharpener nearby without allowing exposed edges to collide with it or other tools.
At a quieter point in the gardening season, review handles, fasteners, springs, guards, locks and replacement-part availability. Keep a brief note of repairs and the correct part numbers. The aim is dependable, inspectable tools: cleaning when dirty, disinfection when the plant-health situation calls for it, sharpening within the model's boundaries and replacement when safe serviceability cannot be restored.
Sources & further reading
We favor university extension guidance and original product documentation. Linked sources support the specific facts cited; they do not endorse Garden Gear Atlas.
- University of Minnesota Extension: Clean and Disinfect Gardening Tools
- FELCO: How to Sharpen and Maintain Pruning Tools
- University of California Master Gardeners: Tool Care Tips