Draw the routes first, then the beds
Begin with the movement that already happens in the garden: entering through a gate, carrying water, bringing in compost, harvesting, and moving tools back to storage. Mark those routes before fitting rectangles into the available ground. A layout that maximizes planted area on paper can make every routine task harder if it leaves narrow turns or requires carrying materials over a bed. Access space is working garden space, not automatically wasted ground.
Include everyone who will use the garden. One person may work standing, another from a seat, and another with a mobility aid. Ask them to demonstrate a comfortable working position rather than assuming the tallest person's reach defines the bed. If children participate, consider which areas they can safely access now without making the entire layout dependent on climbing or leaning. The design should make ordinary tasks possible without repeated awkward improvisation.
Measure comfortable reach during a real task
Minnesota Extension recommends selecting bed width so the center can be reached without stepping into the soil. University of Minnesota's raised-bed design guidance Test more than whether fingertips touch a point. Reaching to place a seed, remove a small weed, lift a harvest basket, and inspect a plant are different movements. Use the most demanding routine task as part of the decision.
Mark a temporary edge and place a lightweight object at several distances. Test from the intended seated or standing position without leaning on an unverified support. Repeat along both long sides if both will be accessible. If only one side can be used because of a fence, do not borrow a width intended for two-sided access. Record the comfortable distance and leave a practical margin rather than designing exactly at the limit of a one-time stretch.
Mock up height and edge thickness together
The top edge affects how close you can get to the soil. A wide cap may be useful for resting a light item but also adds distance to the planting area. Tall walls may reduce bending for one person while making the center harder for another to reach. Use stable temporary markers or an appropriate safe demonstration surface to represent the intended height and edge width. Do not balance a makeshift platform and treat it as a load-bearing seat.
If seated gardening is a goal, consider leg and knee clearance, chair approach, and the position of tools as a complete arrangement. A tall open-bottom bed is not automatically an accessible table planter. Ask for actual dimensions and load information for any purpose-designed seating or elevated structure. Individual needs vary, so an extension dimension is a starting reference rather than certification that a particular user will be comfortable in the finished space.
Test path width with the equipment you actually move
Utah State explicitly includes walkways that accommodate a wheelbarrow and keep foot traffic out of the growing area. Utah State's raised-bed layout guidance Measure the actual carrier, including handles and the space needed by the person pushing or pulling it. A wheel may fit a gap while the user's hands, elbows, or turning movement do not. Straight-line width is only one part of usable access.
Set out the proposed beds with hose, stakes, or another visible temporary boundary and walk the routes. Try turns at bed ends, passing another person, setting down a basket, and opening gates fully. If you use a mobility aid, test its real turning needs without assuming a generic path dimension meets them. Check the surface as well as the width: a route that is comfortable when dry may become unstable or difficult after rain.
Reserve space for the plants at their working size
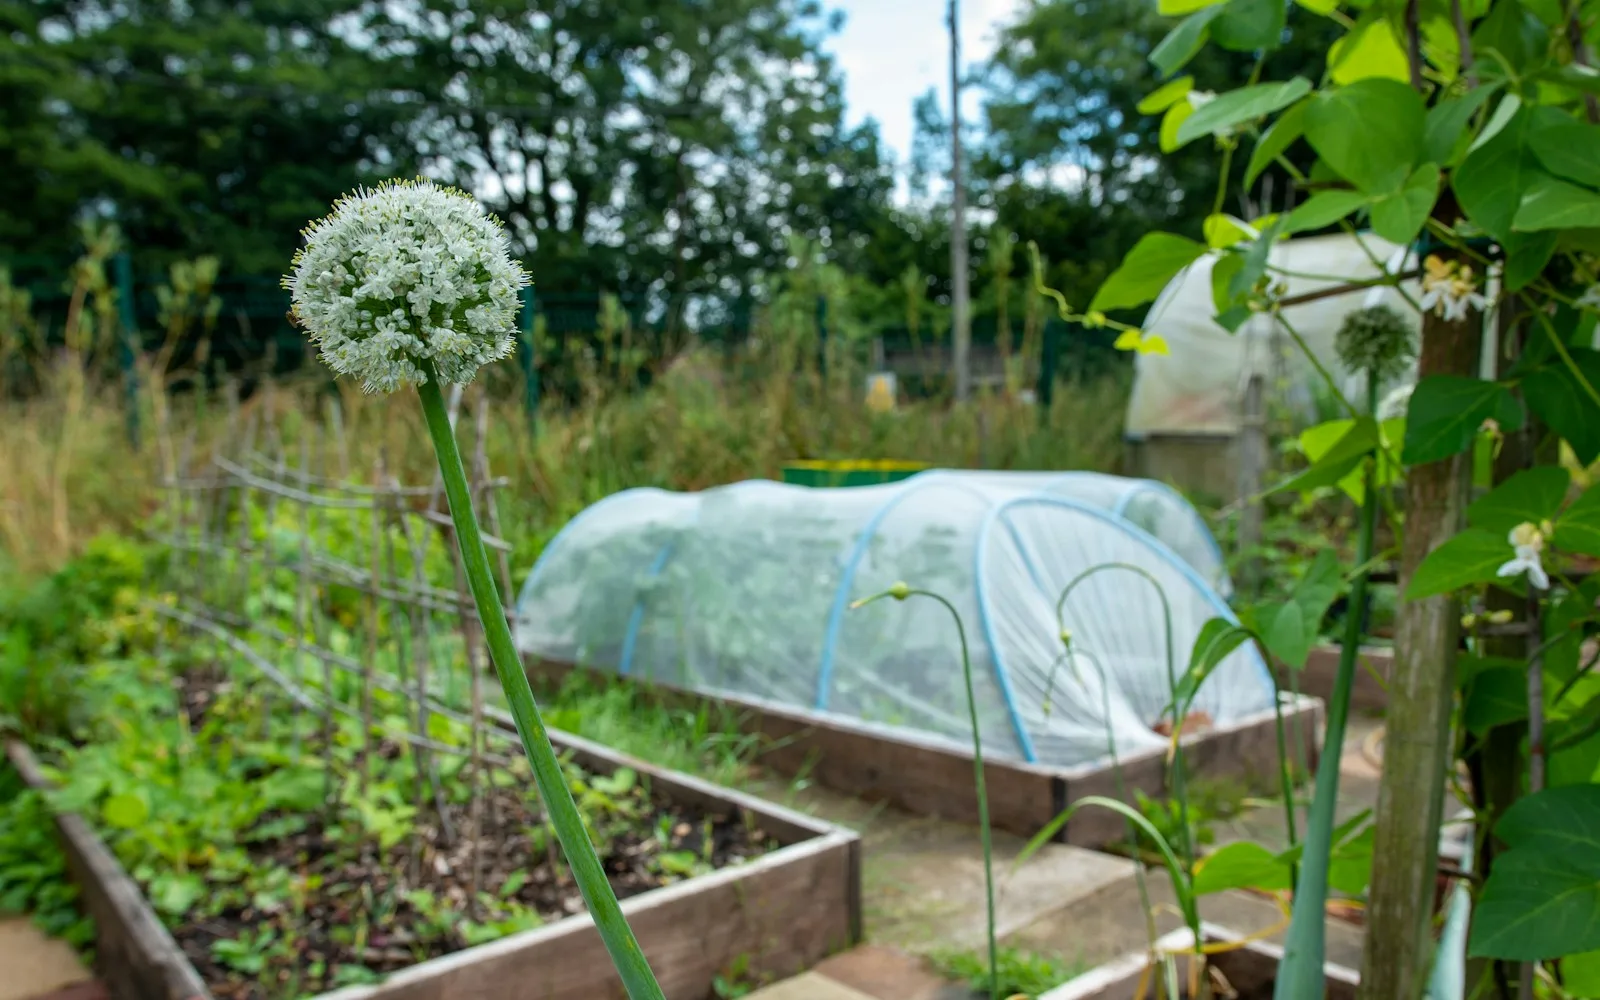
Place a mature-plant outline on the plan, not just a seedling dot. Leaves, sprawling stems, supports, and protective covers can narrow an otherwise generous path. Identify crops that may lean outward and decide whether the bed edge is the right place for them. The spacing tool can organize a proposed planting pattern, but it cannot guarantee that every cultivar will remain inside a perfect circle or that a path will stay clear without maintenance.
Think through the harvest movement as well. A trellis may fit vertically while making fruit difficult to reach from the available side. A cover frame may open into the path where someone needs to stand. Include those motions in the full-size trial. A small adjustment to bed orientation or support placement can prevent a season of reaching over plants, whereas adding the accessory after planting may leave few comfortable options.
Put water and service points where they remain reachable
Mark the water source, hose route, irrigation controls, and any connection that needs seasonal maintenance. Keep service points accessible without moving a planted container or kneeling in a narrow gap. Maryland Extension treats layout, growing conditions, and irrigation as connected parts of raised-bed gardening. Maryland Extension: growing vegetables in raised beds A bed location is not fully resolved until routine watering is practical there.
Try the hose route during the mockup and look for crossings that create trip hazards or catch on corners. Plan a place to set a watering can or harvest basket without blocking the path. If an irrigation line will be secured to a frame, check the bed manufacturer's guidance before drilling or altering components. Accessibility includes the work of maintaining the system after plants fill the view, not just walking past an empty frame on installation day.
Optional in-bed equipment also takes working space. The Vego in-bed worm composter profile is a reminder to reserve planting footprint and continuing lid access before filling the bed.
Balance fewer wide beds against more narrow beds
More beds usually create more edges and paths, while wider beds create more reach. Compare complete layouts rather than comparing only the nominal square footage inside the frames. A narrower bed that is fully usable may provide more practical planting space than a wider one whose center is routinely neglected. Conversely, many tiny beds can create unnecessary turns and a complicated watering layout. The right arrangement depends on tasks and users rather than a single ideal size.
Use a simple decision sheet for each candidate: accessible planting area, path behavior, turning points, water route, number of awkward reaches, and room for future changes. Do not assign a scientific-looking score unless the criteria and weights genuinely reflect your priorities. Sometimes one clear obstacle, such as an inaccessible gate turn, is enough to reject an otherwise attractive option. Keep the comparison transparent so other gardeners can understand why the chosen layout works.
Check the unglamorous boundaries before ordering
Confirm property constraints, required access to utilities, and any local requirements relevant to the installation. Locate buried services through the appropriate local process before digging or driving substantial anchors. Keep access to building maintenance, drains, and emergency routes in mind. These are site-specific checks; a garden sketch is not permission to obstruct an existing service area. Ask the appropriate property owner or qualified professional where uncertainty remains.
Measure gates and delivery routes against the actual assembled or packaged product dimensions. Check whether the components can be brought to the site and assembled with the available clearance. Record nominal and actual measurements separately, especially with lumber accessories. If a design depends on a particular corner system or brace, verify compatibility before cutting materials. A full-size ground mockup catches movement problems, but it does not replace component specifications or structural instructions.
For one component example, inspect the 12-inch Gardener’s Lifetime Corners specifications alongside the lumber dimensions before planning the inside bed width.
Run one complete garden session in the mockup
Before committing, rehearse a short sequence: enter with tools, reach a central planting spot, water, remove a pretend harvest, turn the carrier, and return to storage. Include setting down equipment and closing the gate. Note where a task requires stepping across a boundary, stretching beyond comfort, or moving another object first. Those moments identify layout costs that do not appear in an overhead rectangle drawing.
Revise the smallest part that resolves each obstacle and repeat the sequence. Keep the final measured plan with the reason for its dimensions, especially if access needs shaped the design. Recheck after the first growing season because mature plants and real use may expose a new constraint. A successful raised-bed layout is one that supports repeated work comfortably and predictably, with enough flexibility to change crops, equipment, or working position without rebuilding the entire garden.
Sources & further reading
We favor university extension guidance and original product documentation. Linked sources support the specific facts cited; they do not endorse Garden Gear Atlas.
- University of Minnesota Extension — Raised bed gardens
- Utah State University Extension — Raised Bed Gardening
- University of Maryland Extension — Growing Vegetables in Raised Beds