Separate the surface from the leaf tissue
A gray-looking leaf can have dust on top, feeding injury within it, or both. Inspect a small area gently with a damp cloth if the plant's foliage tolerates handling. Removable material tells you something about the surface; remaining pale speckles tell you the leaf itself has changed. Do not scrub an entire plant as a diagnostic test, especially if its leaves are delicate, hairy, or easily marked. Begin with observation and a representative leaf.
Spider-mite feeding commonly produces small pale points called stippling, sometimes followed by a more bronzed appearance. Fine webbing may be present, particularly as populations build. UC IPM's spider-mite guide illustrates this combination. A dirty windowsill or nearby dusty path is context, not proof of an infestation. Equally, cleaning a leaf does not establish that the plant is free of mites. Keep the questions separate: what washed away, what injury remained, and what organisms are actually present now?
Sort the first inspection into three provisional cases
Use these cases to decide the next observation, without treating them as laboratory results. A plant can move between categories as you gather better evidence. Record uncertainty when the lens or photograph is inadequate instead of forcing a definite answer from a single check.
- Mostly removable surface material, no clear tissue injury, and no mites found: clean an appropriate sample area and monitor it. Review where dust is coming from before buying a pest product. Repeat the inspection if discoloration develops.
- Persistent stippling with living mites or convincing mite signs: inspect additional leaves and nearby susceptible plants, then choose a response matched to the current damage. Keep a photograph of the original boundary for follow-up.
- Dust and stippling together, but no organism resolved: retain the full plant history and obtain better magnification or identification help. Cleaning explains the surface coating; it has not yet explained the injury beneath it.
Use light, a lens, and white paper
Look underneath leaves and around the junctions where fine webbing collects. Hold white paper beneath a suspect leaf and tap or shake it gently, then inspect the fallen particles for movement. Repeat on several leaves from different parts of the plant, including the edge of the affected area. Minnesota Extension recommends both underside inspection and the white-paper method. Use magnification when possible. Tiny stationary debris and tiny moving animals should not be recorded as the same finding.
Set up the inspection where the paper will remain still and the light is good. Photograph the plant before cleaning or rinsing so you retain the original pattern. If your phone cannot resolve the organism, say so rather than treating a blurry dot as species confirmation. A local extension service may advise how to collect a sample. Keep the paper and tools away from other plants until finished, and note which leaves produced the clearest evidence so the next inspection targets a comparable location.
Check for lookalikes and beneficial mites
Webbing alone is not enough. Ordinary spiders make webs, and windblown plant fluff can resemble fine silk. Colorado State Extension discusses these lookalikes and notes that different spider-mite species have different seasonal patterns in its spider-mite reference. Warm weather makes twospotted mites plausible on many garden plants, but does not mean every mite problem peaks during summer. Identification should connect the host, leaf injury, and living organism rather than rely on weather alone.
Some tiny mites are predators. Avoid declaring every moving speck a plant feeder or trying to classify them solely by whether they look red. If you cannot distinguish the organisms, document the damage and obtain help before choosing a treatment that would affect both. A useful observation sheet has separate spaces for fresh stippling, webbing, living mites, and other insects. This encourages a fuller assessment than a simple yes-or-no entry for “bugs,” and helps explain why a plant with old injury might not need another intervention.
Address the conditions around the affected plant
Check whether the root zone is becoming excessively dry between waterings and whether dust is repeatedly settling on the foliage. A pot beside a frequently opened dusty door presents a different maintenance problem from a shrub beside a gravel drive. Consider changes you can sustain: more appropriate watering access, moving a manageable container, or controlling the source of disturbed dust. Do not replace a dry-root problem with constant saturation in an attempt to make the air more humid.
Where the plant and setting permit, rinsing foliage can remove mites and dust, with particular attention to leaf undersides. Support leaves and avoid a jet that tears growth or blasts medium out of the container. Let water drain appropriately afterward. Indoors, plan the route to the sink or shower so infested foliage does not brush through a collection of other plants. Cleaning leaves is one part of management; it does not guarantee that protected eggs or missed individuals have disappeared. Recheck rather than assuming one rinse ended the problem.
Match intervention to active damage
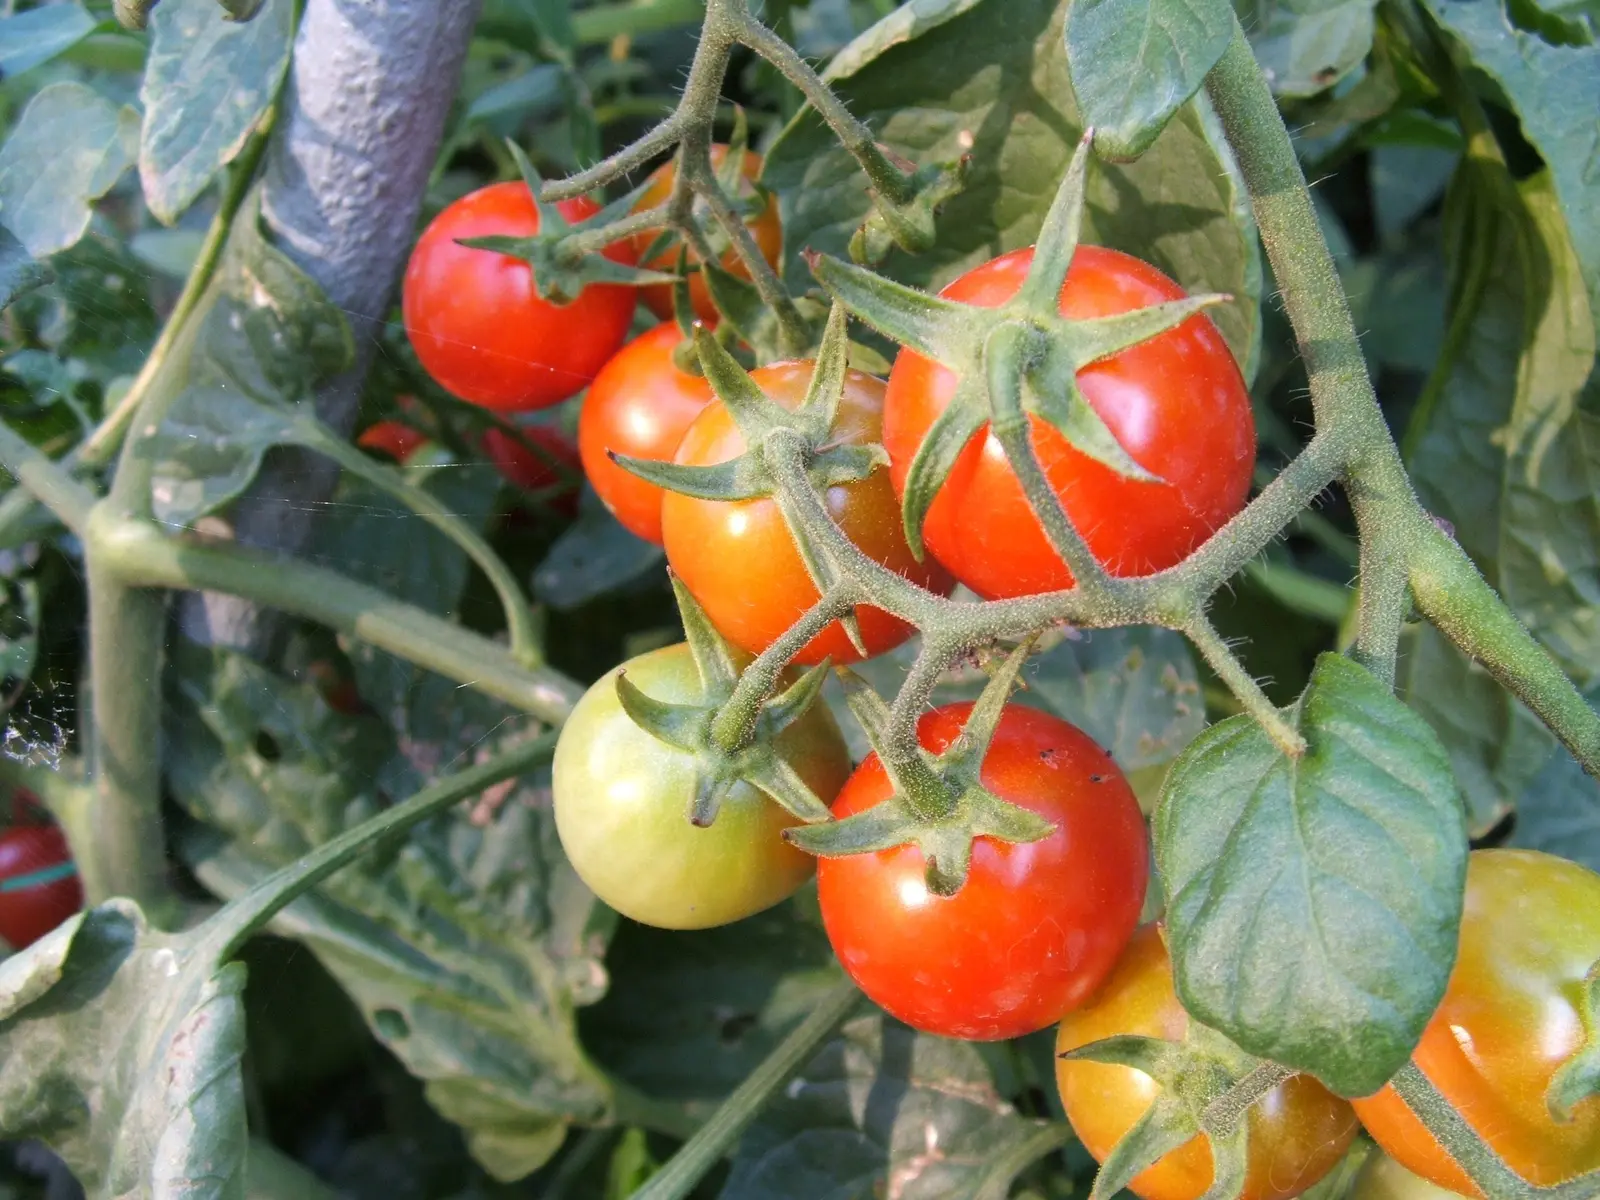
Decide what you are trying to protect. A small houseplant with new injury across most leaves may need a more immediate response than an established woody plant with a little stable discoloration. For tomatoes, Maryland Extension notes that severe mite damage can leave plants vulnerable to additional injury from sprays, including soaps and oils, in its tomato problem guide. That is a reason to identify and assess promptly, not a reason to experiment with stronger household mixtures.
If a pesticide is justified, select a currently labeled product for the identified pest, plant, and indoor or outdoor setting. Follow its temperature, plant-sensitivity, application, and harvest directions where applicable. Insecticidal soap is a formulated pesticide; dish detergent is not an interchangeable substitute. Avoid assuming that a general insect killer controls mites or that a plant-derived ingredient makes every application suitable. For a valuable plant that continues to decline despite a sensible response, ask for professional diagnosis rather than escalating through a sequence of unrelated products.
Reinspect living populations and new growth
Old stippling will not vanish when mites leave. Compare the amount of active infestation, the appearance of newer foliage, and whether fresh damage extends beyond the earlier boundary. Use the same inspection method each time so your notes are reasonably comparable. A photograph taken after dust removal can make the whole plant look greener even if the pest population has changed little. Treat appearance, feeding damage, and live organisms as three related but separate measures.
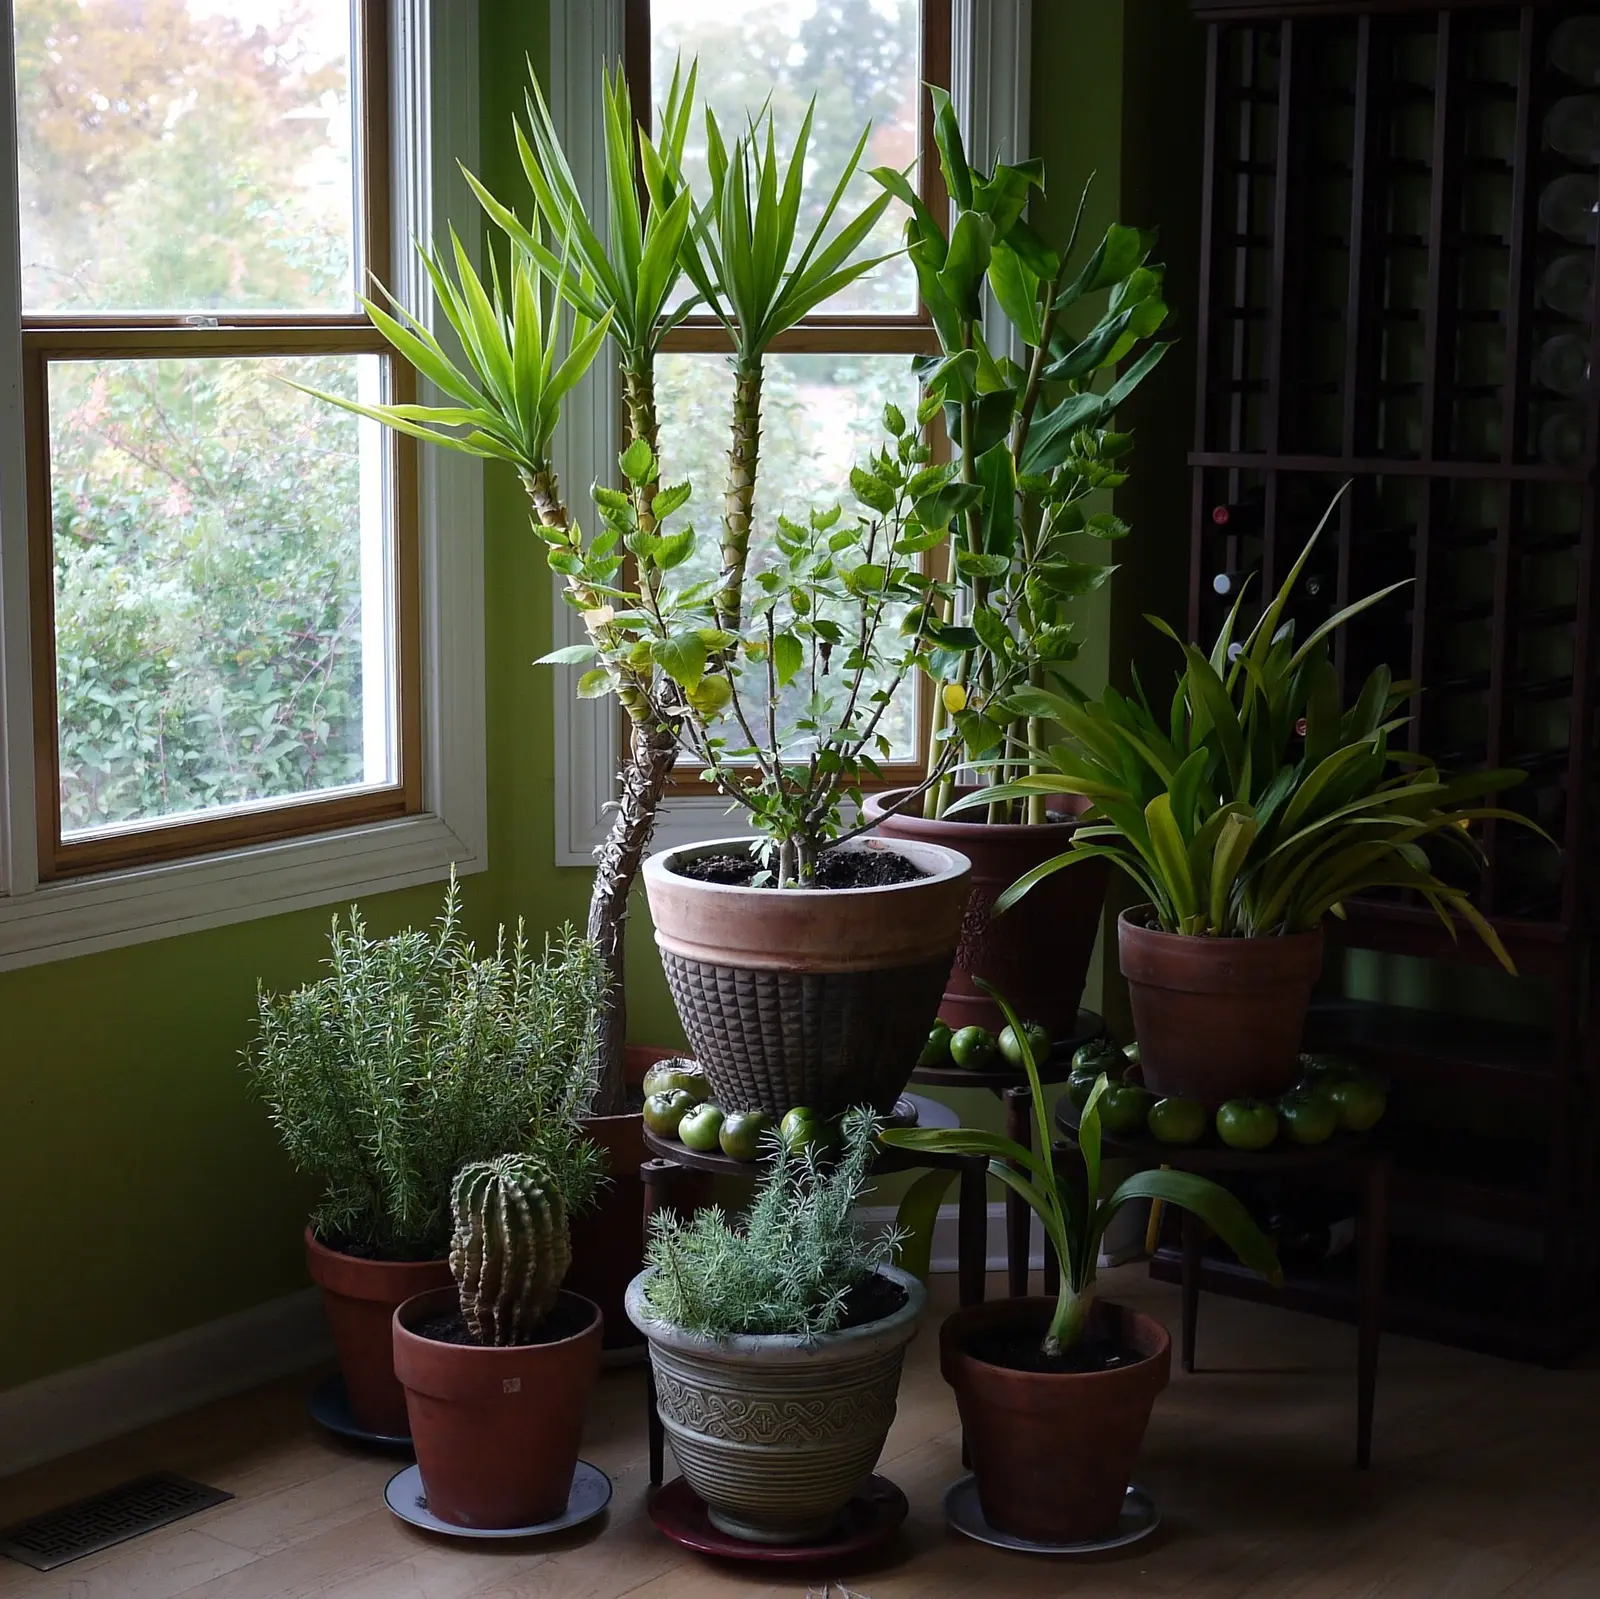
Consider an illustrative indoor collection with one affected plant and several pots touching it. Move the affected pot far enough to permit separate inspection and handling, then check its neighbors individually. Do not label every neighbor infested without evidence, or return the plant to the cluster because the first rinse made it look clean. Record the follow-up date and what you found. If the work required for a severely damaged, replaceable plant exceeds what you can maintain, discarding it may be a practical choice. Retain the lesson about location and inspection before introducing the next plant.
Sources & further reading
We favor university extension guidance and original product documentation. Linked sources support the specific facts cited; they do not endorse Garden Gear Atlas.
- UC IPM: spider mites
- University of Minnesota: twospotted spider mites
- Colorado State University: spider mites
- University of Maryland: key to common tomato problems